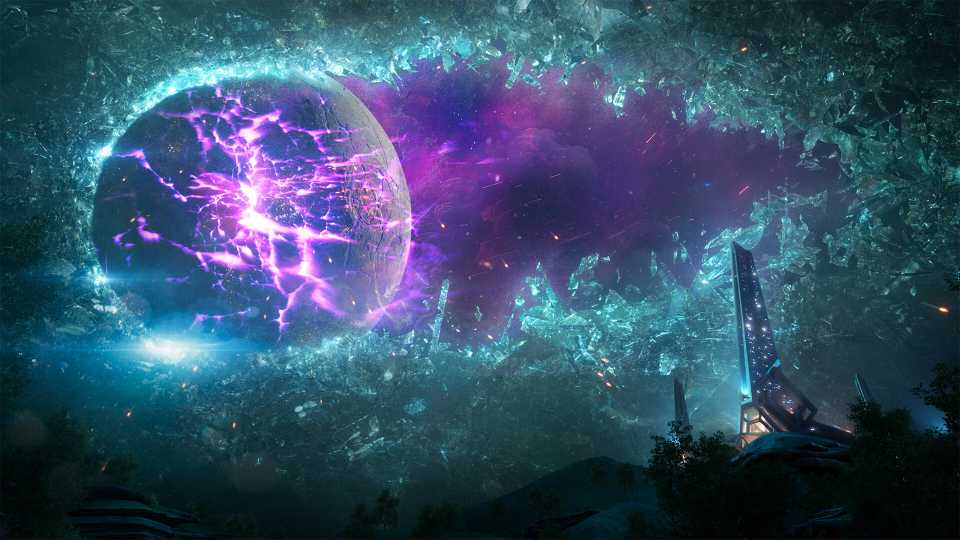
Levaine believes there to be an imposter among us in Borderlands 4, as one of the Electi is a mole who is working for the Order. While her suspicions remain unresolved, it's up to players to aid the Electi people in the meantime and gain further leads on who the traitor could be in the Faction Mission, A Traitor Within. Below is a full walkthrough of A Traitor Within, along with a complete puzzle solution and demonstration of completion from shooting the nodes, which some players might need a visual guide for to see how they can continue through the quest without delay.
How to Collect Thresher Eggs and Pangolin Spit
How to Gather and Deliver the Food in A Traitor Within
Leviane tasks the Vault Hunters to gather food for the Electi, and while it's no caviar, Thresher Eggs and Pangolin Spit will be just what the population needs for sustenance. Players can head to the Ruined Sumplands in Carcadia to find a swarm of Threshers, and simply killing them will see them drop Thresher Eggs. Players need to pick up 4 of them to get the next objective. In the same radius of the Threshers, just to the west, is a herd of Pangolin. Players can kill the Pangolin as normal, and upon doing so, they can collect 3 Pangolin Spit, which drops from them. Be cautious, as collecting the final Pangolin Spit will see Order troops descend in an ambush, so prepare to kill them.
With the food collected and the Order troops slain, it's time to head to Moxxi's Bottoms Up in the Ruined Sumplands, where players can then place the food on Moxxi's bar, right beside the tip jar. This will complete this section of A Traitor Within, and now it's time to find the traitor's hideout.
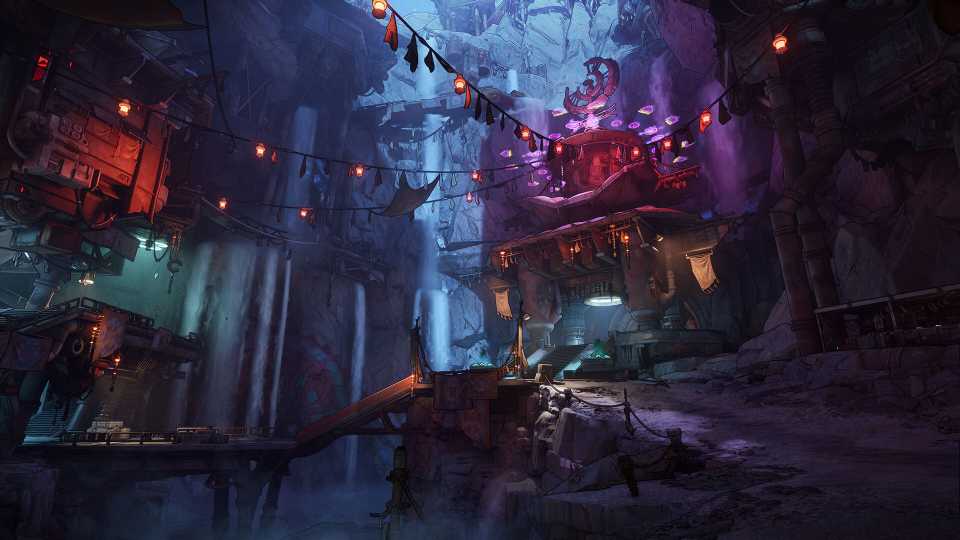
Where to Kill Rippers and Explore the Cave
How to Find the Traitor's Location in A Traitor Within
In the north west region of Tonnage Peel, players will find the Quisling's Cave Point of Interest. At this location, players will need to kill all the Rippers that spawn, and upon killing the final one, they can pick up the Bitter Plotter ECHO Log. With the ECHO Log claimed, head deeper into the cave and kill the Kratch to meet up with Levaine, who will use a drone to help players grapple to the next section, so be sure to look up.
The process to navigating through the cave is simple, as players just need to follow the linear path, while looking up to watch and wait for Levaine's drone to position itself so you can grapple to it to reach the next platform. There are some drones that require a run and jump, and even a double jump with a glide. After following through the cave, you'll eventually reach Camp Spinesquelch.
How to Access the Traitor's Bunker
How to Shut Down the Barrier and Grab the Micro Drive in A Traitor Within
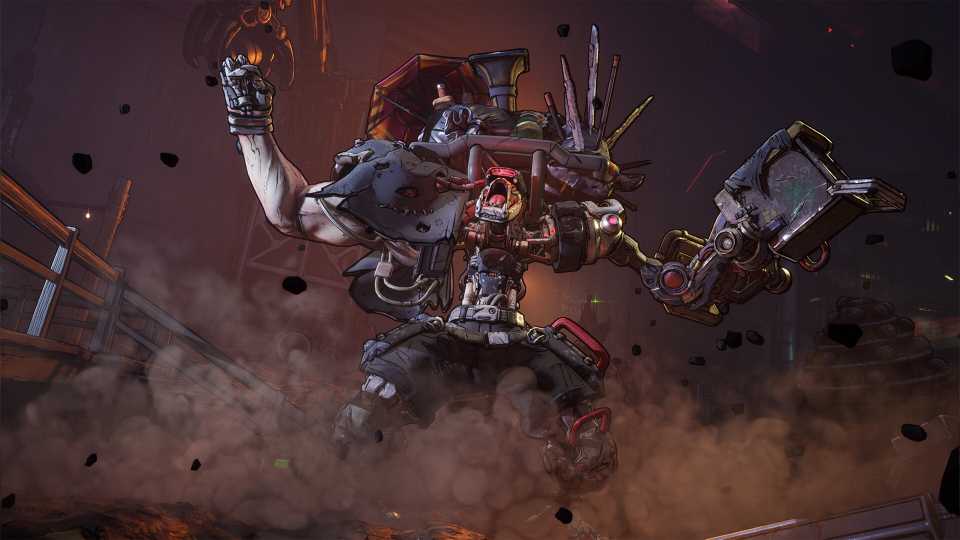
Once inside, players will see the traitor unveiled! The traitor has locked the doors to their bunker, and in order to get in, players must kill all of the Order forces that spawn here. After defeating the Order troops, a Brute Electi will spawn, which is just a Bulkhead with a Flesh health bar, a Shield health bar, and an Armor health bar. With these forces defeated, look up at the north-east wall to find another of Levaine's drones. Pull yourself up, then look to the control terminal to pick up the micro drive, only to discover that it's locked in place. Now, it's time to activate the interface by pulling the lever, which will begin the Node Puzzle.
How to Line Up and Shoot Willem's Nodes in A Traitor Within
The video above will take players through exactly where they will need to stand and what node to shoot if they want to proceed with the quest. However, it's rather simple once you know what to do. There will be a red prism (node), and players must shoot at the red one once they've aligned the blue prisms behind it. There's no way to mess this step up, as shooting it incorrectly will do nothing. On the last node, players will want to head to the right of the console to get to a higher platform, where they can then shoot the final node. Players will be able to tell if they've aligned the nodes correctly before shooting, as their crosshair will be highlighted red. Be sure to use single-shot weapons like Assault Rifles, SMGs, and Hand Cannons, really anything that's accurate and not explosive or with spread.
After completing the puzzle, pick up the drive from the command console and then hand it over to Levaine. This will complete the Faction Mission, and now players can return to Carcadia to start the final part of this quest chain.

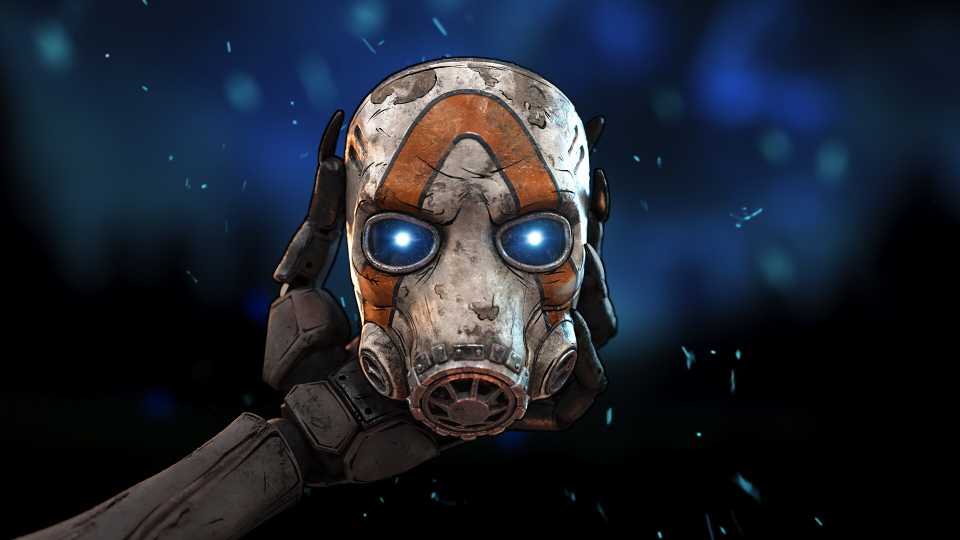
Borderlands 4


-
 OpenCritic Reviews
- Top Critic Avg: 82 /100 Critics Rec: 88%
- Released
- September 12, 2025
- ESRB
- Mature 17+ / Blood and Gore, Intense Violence, Sexual Themes, Strong Language, In-Game Purchases, Users Interact
- Developer(s)
- Gearbox Software
- Publisher(s)
- 2K