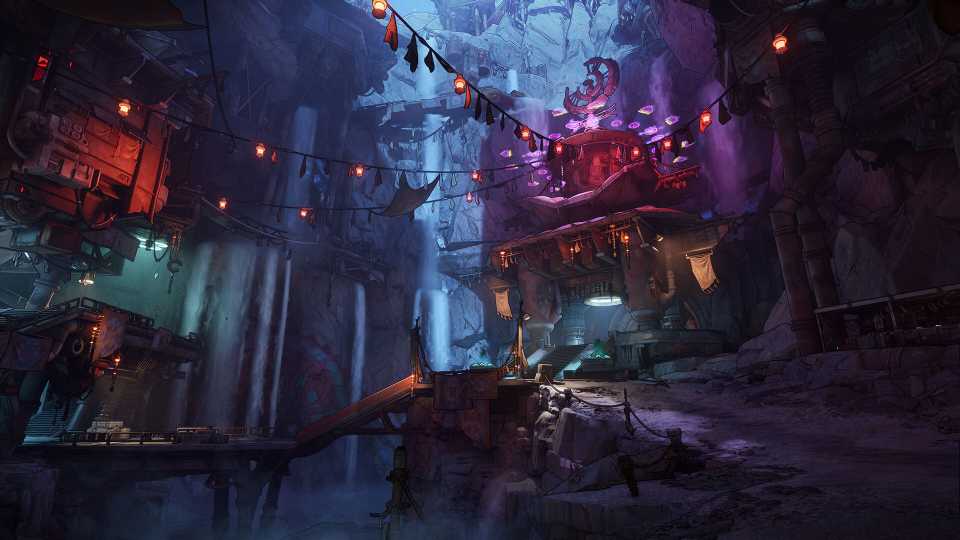
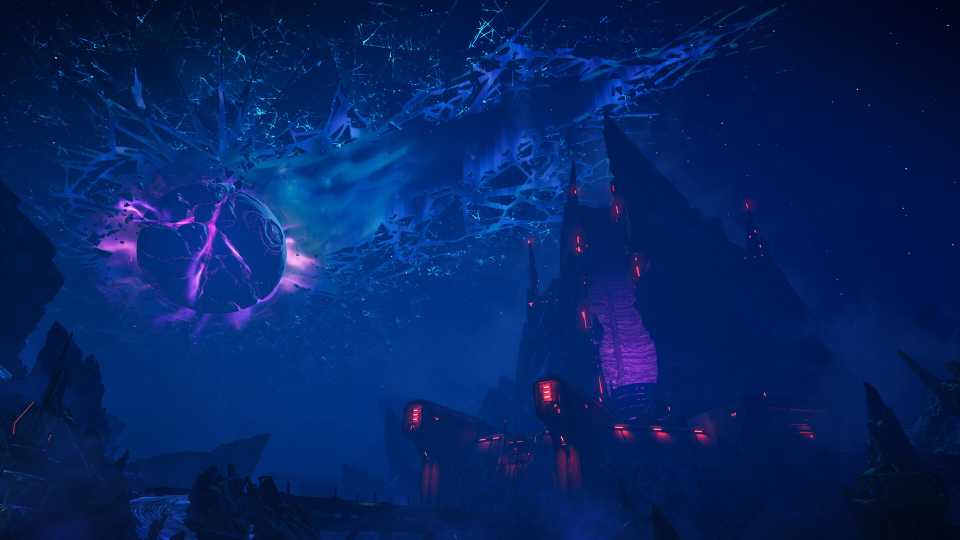
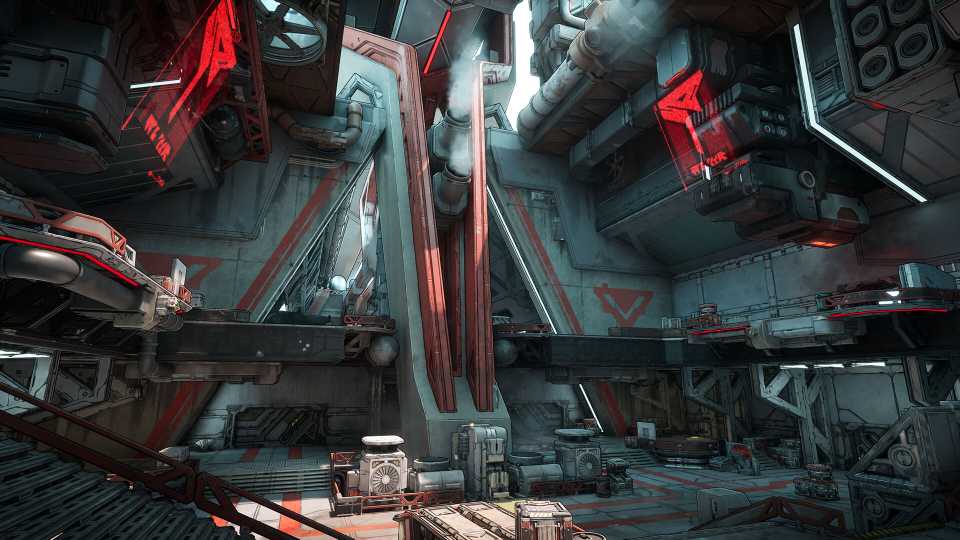
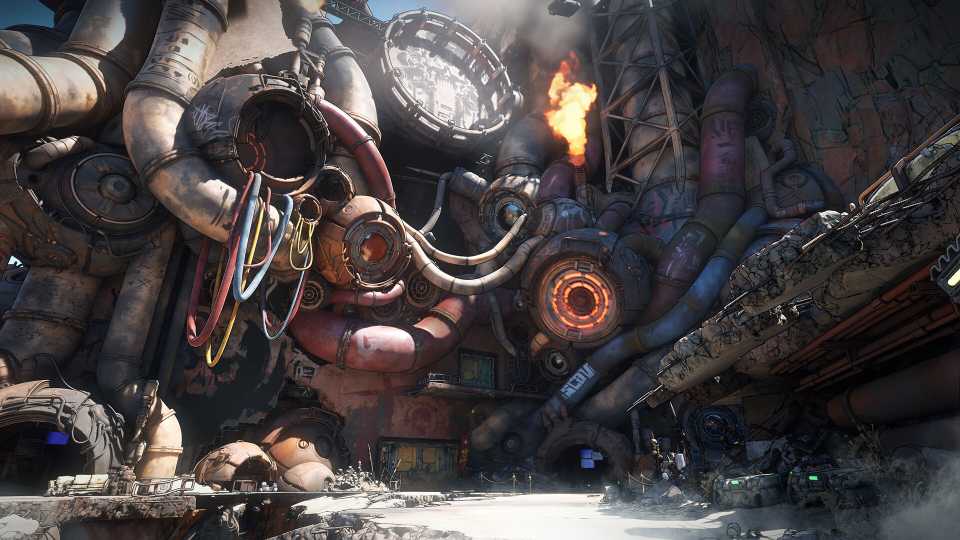
There are a total of 7 Abandoned Auger Mines in Borderlands 4, with each of the main locations having at least 1 to explore. Auger Mines are filled with creatures that lurk within Kairos, and those who wish to be pest exterminators can venture into these caves and explore them to their end, where they will be met with a deadly boss fight. Below, we've listed all Auger Mines in Borderlands 4, along with the boss present, and the Legendary loot thatroac they can drop, so you know exactly which fight you want to farm for the epic loot that will make your build a true powerhouse against the villains of Kairos, and the envy of all other Vault Hunters.
In order to unlock Auger Mines, players must first complete the main mission: Shadow of the Mountain.
Any additional Legendary loot found from these bosses will be updated as they appear.
Timid Kyle's Neglected Opening
How to Beat Voraxis
- Location: Coastal Bonescape, The Fadefields
|
Legendary Loot |
Type |
Description |
|---|---|---|
|
Darkbeast |
SMG |
Parley - Bullets pierce enemies, and have a 5% Chance when hitting an enemy to cause an explosion that deals 2,632 Damage CoV-Licensed Magazine - This Gun has an unlimited Magazine size, however, it will heat up, and eventually break Daedalus - Secondary fire consumes Assault Rifle Ammo |
|
Potato Thrower IV |
Assault Rifle |
|
|
Buoy |
The most accessible Auger Mine is found within the first area of the map, the Fadefields. Players can venture north from the Old Safehouse in Coastal Boenscape to find this cave entrance, which has a rather ominous red glow to it. Avoid jumping into the tempting hole, and instead, loop to the right to find the cavern entrance. Follow through the caverns and avoid those pesky Threshers to find the boss at the end, which is Voraxis. Voraxis is another Thresher, but this hulking beast will swim through the dirt, attempting to jump up and surprise you with deadly bites and charges. This enemy only has 1 Flesh bar, so Incendiary damage is great for taking it out (whenever it decides to show its head).
The Claim
How to Beat The Backhive
- Location: Dissected Plateau, The Fadefields
|
Legendary Loot |
Type |
Description |
|---|---|---|
|
Triple Bypass |
Repkit |
Heart Pump - This Repkit has 3 Charges, and has a 30% chance to replenish a Charge on kill |
|
Rallying Stop Gap |
Sniper Rifle |
Reconfigure - When firing, Fire Rate decreased down to 20%, but Damage increases up to 750% [Alt Fire] Shotgun - Fires a Shotgun that deals 718x6 Damage per shot |
Within the west region of Dissected Plateau in the Fadefields, players can find The Claim. This cave is located next to Zadra's secret hideout, so try to complete a few main story missions until at least after you get to A Lot to Process, which is around the 4th main mission. Head deeper into the cave to find The Claim, and fans of the series up to this point might recognise familiarity with the boss as not a Rakkhive, but a Backhive. The Backhive is a giant beast where Kratch enemies will spawn from its back. With a near-impenetrable hide, players are going to want Incendiary rounds to burn through this beast's single Flesh health bar. Just be mindful of its stomping legs and the fierce bombing Kratch that will emerge.
The Pigeonhole
How to Beat Skull Orchid
- Location: Grindstone of the Worthy, Carcadia Burn
|
Legendary Loot |
Type |
Description |
|---|---|---|
|
Spied Dextrous Oak-Aged Cask |
Shield |
Vintage Utility - When Shield is empty, grants +20% Gun Handling and +10% Movement Speed Spike - When receiving Melee Damage while Shield is active, 4,461 Damage is reflected back to enemies |
|
Roach |
Pistol |
The first Auger Mine players will find in Carcadia Burn is within Grindstone of the Worthy, which faces a south wall close to Dominion. Entering into Pigeonhole won't be a difficult experience, unless players are fairly creeped out by the Creeps that have made their nest here. To make matters worse, the boss fight is a Creep, and one who can randomly change elements to counter your damage elemental types. The same principle applies here, as Skull Orchid will have a Flesh health bar, which is easily destroyed with Incendiary weapons. For a weakspot, aim for Skull Orchid's tendrils that hang from its mouth, as its bulky eyes and bulbous head are actually protected by its shell.
Trinket Crevass
How to Beat Rocken Roller
- Location: Ruined Sumplands, Carcadia Burn
|
Legendary Loot |
Type |
Description |
|---|---|---|
|
Whispering San Saba Songbird |
Pistol |
Dueling Pistol - Deals +100% Damage for 5s after swapping Guns Jakobs - Critical Hits will Ricochet Projectiles to nearby enemies |
|
AF1000 |
In the north region of Carcadia Burn, players can head to the Ruined Sumplands where, just beside a cliff, is an entrance to a deeper cave. Heading through the cave, players are going to find a rolling menace called Rocken Roller. Rocken Roller is the boss of Trinket Crevass, and his first health bar is a regenerating Vile one. This means that players must destroy the crystals adorning his body if they wish to deal damage to his Flesh health bar. The Vile bar does return after some time, so be sure to be quick with damage and use Incendiary rounds to exploit his weakness. Rocken Roller isn't too much of a threat, so long as you stay jumping and far from this rolling threat.
Whistler's Maw
How to Beat Shadowpelt
- Location: Cuspid Climb, Terminus Range
|
Legendary Loot |
Type |
Description |
|---|---|---|
|
Slippy |
Grenade Ordnance |
Swordfish - Deals Melee Damage on detonation Concussive - Knockback Force is increased by +83% |
|
Eviscerating Vamoose |
Sniper Rifle |
Scarce [Alt Fire] Atlas-Licensed Underbarrel 0 Fires Tracker Grenades, tagging enemeis that your Projectiles will home in on for 8s Ripper - This Gun charges before Full Auto firing |
|
Centering Weatherproof Sparky Shield |
Shield |
Short Circuit - While Energy Shield is not full, it periodically Shocks nearby enemies Resistant - When Shield is active, grants +17% Resistance to Elemental Damage Recharge Rate - When equipped, grants +30% Shield Recharge Rate |
Within the center of Cuspid Climb in Terminus Range, players can find the Whistler's Maw cave. This cave is relatively simple to navigate through, albeit with the monstrous Manglers that lurk within. However, the true threat is from the boss, Shadowpelt, who can be an unrelenting menace to fight. Shadowpelt starts with a Shield bar, so bring a Shock weapon to destroy it. However, Shadowpelt's Shield bar will regenerate itself, and when it does, he becomes completely invisible, relying on flanking attacks and electric orbs to shock you to death. Simply use Shock weapons to destroy his shields and then an Incendiary weapon to burn him to a crisp, over and over again, to claim his loot.
Bittervein
How to Beat Bramblesong
- Location: Stoneblood Forest, Terminus Range
|
Legendary Loot |
Type |
Description |
|---|---|---|
|
Ohm I Got |
SMG |
Energy Transfer - When Energy Shield is active, grants +50% Damage by consuming the Shield's energy instead of Ammo. When Overshield is also active, Energy Shield will not deplete. |
|
Convergence |
Shotgun |
|
|
Disco |
Grenade Ordnance |
Groove Expansive - Grenade Damage Radius is increased |
In the far north region of Stoneblood Forest of Terminus Range, players will be able to locate the Bittervein Auger Mine, which houses an abundance of festering Kratch enemies. The cave itself is perhaps the most confusing to navigate, as elevating platforms require a mastery of jumps, mid-air dashes, and the ability to look up to locate grapple points. At the end of the cave system is Bramblesong, an oversized Kratch with 2 Flesh health bars, so bringing Incendiary to burn this flying monstrosity to a crisp is a must. In terms of damage, Bramblesong will shoot lasers from its tail and send out explosive Kratch units, so try to keep your distance from this winged beast.
The Toil of Spoiling Vis
How to Beat Axemaul
- Location: Carcadia District, Dominion
|
Legendary Loot |
Type |
Description |
|---|---|---|
|
Armored Bod |
Shotgun |
All-Arounder - Counts as a Shotgun, an Assault Rifle, a Sniper Rifle, a Pistol, and an SMG Hyperion-Licensed Ricochet Shield - Damage to Gun Shields can Ricochet back toward enemies Daedalus - Secondary fire consumes Assault Rifle Ammo |
|
Buzz Axe |
Grenade Ordnance |
Makeshift Exacting - Grenade has a 25% Chance to deal Critical Damage |
|
Kill Spring |
The Toils of Spoiling Vis is the only Auger Mine that players can find in Dominion, an area that unlocks in the latter half of Borderlands 4. To reach the Toils of Spoiling Vis, players should spawn in the Carcadia District of Dominion and follow the path left of the safehouse across the bridge, where they will see a cave opening amidst the rubble. Inside, players are going to be fighting Manglers as they explore deeper into the cave, where they will eventually enter Axemaul's boss room. Axemaul is a pretty fierce boss who has Armor as his first health bar, then Flesh as his second, so bringing Corrosive and Incendiary weapons is great for chipping away at this brutal axe-wielding Mangler's health.

-
 OpenCritic Reviews
- Top Critic Avg: 82 /100 Critics Rec: 88%
- Released
- September 12, 2025
- ESRB
- Mature 17+ / Blood and Gore, Intense Violence, Sexual Themes, Strong Language, In-Game Purchases, Users Interact
- Developer(s)
- Gearbox Software
- Publisher(s)
- 2K

