

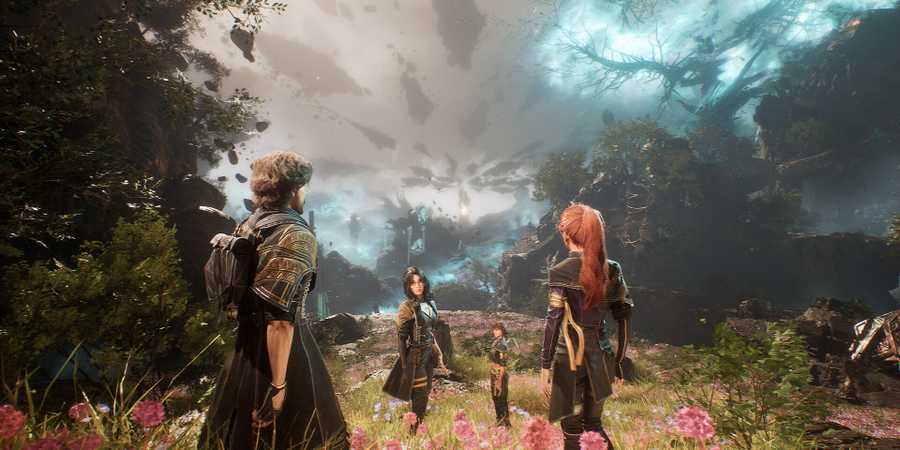
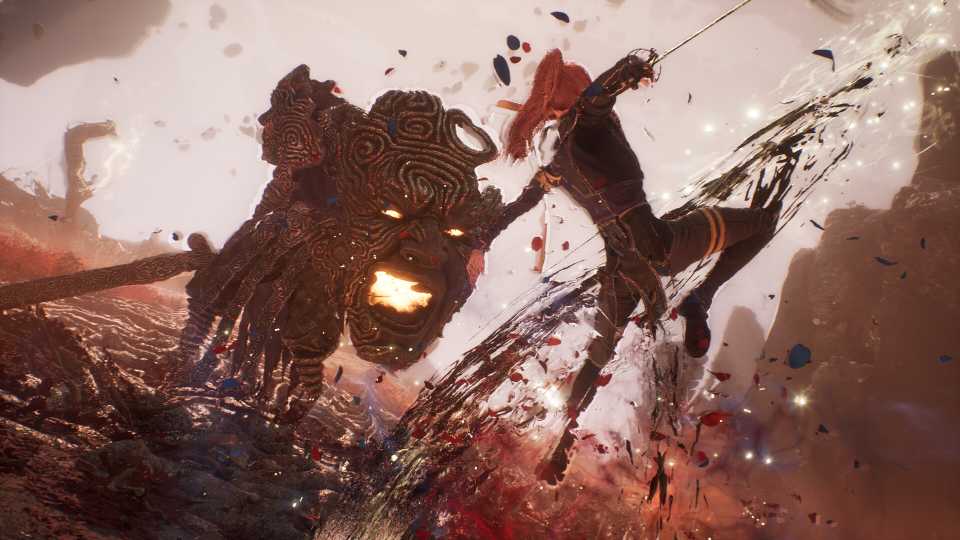
Your adventures in Clair Obscur: Expedition 33 don't stop with the emotional finale of the story. In true RPG fashion, there are countless more mysteries to uncover around The Continent, which you can do by exploring every corner of the game's map, from ground to sky.
One of those locations in Clair Obscur: Expedition 33 that you definitely don't want to miss out on for some thrilling combat and rewards is The Chosen Path. Compared to other battle challenges in the game, however, this one has a unique set of rules, which are explained below along with tips for success.

8 Strongest Characters In Clair Obscur: Expedition 33, Ranked
From NPCs to party members, these Clair Obscur: Expedition 33 characters can demolish small cities if they want.
How to Find The Chosen Path in Clair Obscur Expedition 33

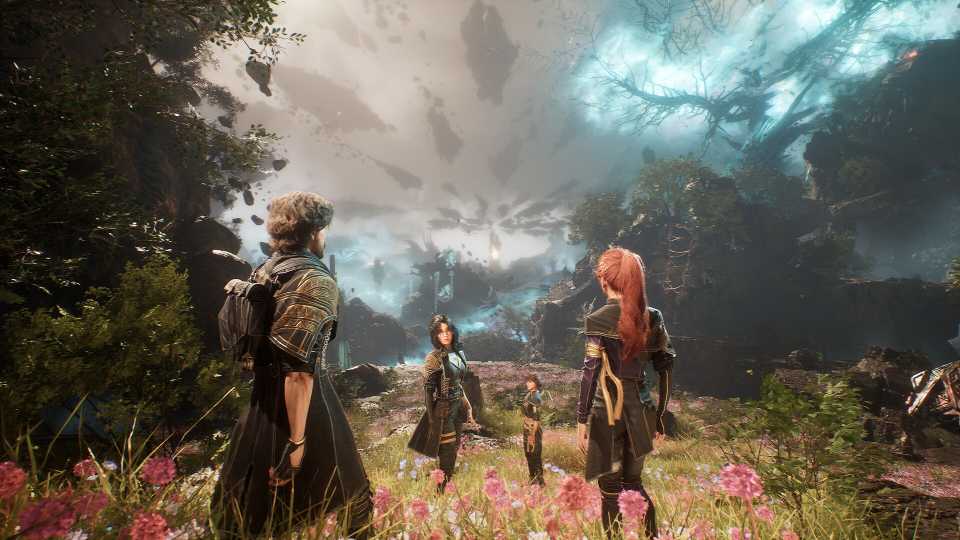
The Chosen Path is one of the many optional areas your party can visit in Clair Obscur: Expedition 33. To reach it, however, you'll first need to unlock Esquie's flying ability, which requires a certain degree of story progress (up to the end of Act 2). Once you have the ability, it'll allow you to reach far more areas around the Continent's map, including ones high in the sky.
To find The Chosen Path, you'll need to head north a good bit until you come to the frozen area where locations like Monoco's Station, The Carousel, and Frozen Hearts are. This serves as the closest major geographical point of reference from where you need to be flying on Esquie. Soar higher until you find a small rocky island over the water just north of the frozen area. It should resemble a building entrance coming shattering into pieces, with a platform to walk on and enter.
Feel free to return to your Camp and polish up any upgrades you may need (along with everyone's relationship progress) before heading inside.
How to Complete The Chosen Path in Clair Obscur Expedition 33

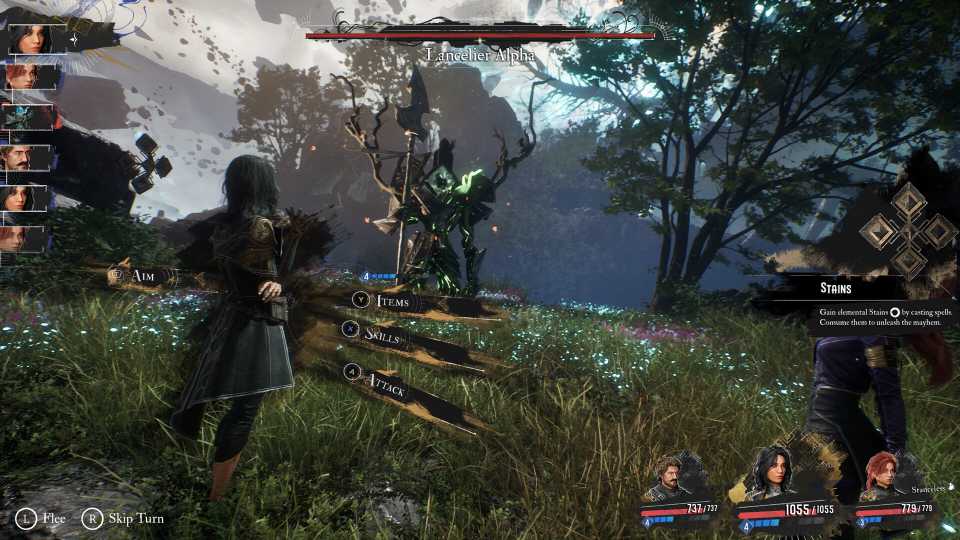
The Chosen Path is a special location that consists of one single open area, where you'll find a series of five glowing canvases. Make note of the Expedition Flag as well, for resting purposes and anything else you need.
Within each canvas lies a battle against a formidable foe, and you can only send in one party member to fight them (somewhat similar to Sunless Cliffs). That may seem manageable enough, but there's one more twist. You can also only use each party member once across all five battles. In other words, you can't use Maelle for more than one battle (sadly), and have to pick which one she'll basically be assigned to. Then pick one for Lune, Sciel, and so forth.
This means you'll have to use every single party member to complete The Chosen Path's main objective, and thus, have everyone at least sufficiently geared with upgraded weapons and quality Pictos/Luminas. If there were any party members you felt less inclined to battle with throughout the game so far and seem lacking in equipment, you might need to focus on beefing them up before attempting this.

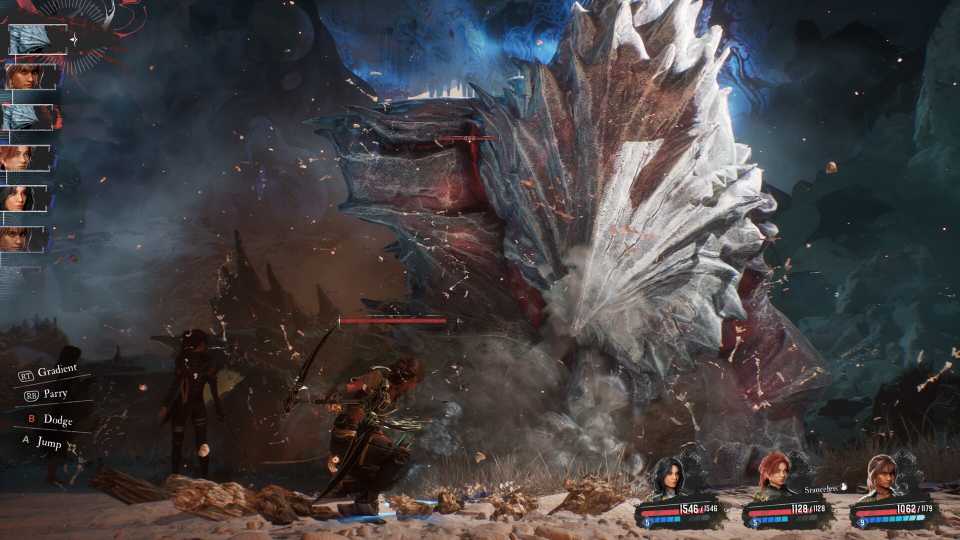
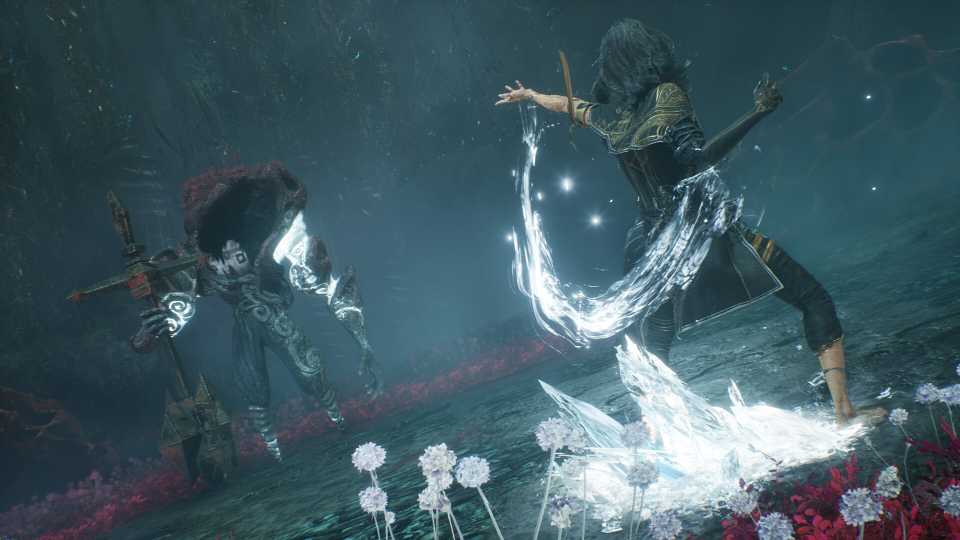
Once you feel ready to tackle each canvas, simply walk up to one and interact with it. Each one contains a different boss for you to defeat, and they each have unique abilities and elemental weaknesses to make note of. Preparing for those weaknesses can make a huge difference in the outcome.
Also, keep track of which boss is in each canvas, that way you know who you want to send in. Make note as well that Monoco will receive the foot of whomever he defeats, per tradition.
From left to right (starting from the location entrance), they're encountered in the following order.
|
Boss |
Weaknesses |
Resistances/Immunities |
|---|---|---|
|
Glaise |
Ice and Fire |
Resistant to Lightning Will absorb Earth |
|
Benisseur |
Ice and Dark |
Resistant to Earth and Light |
|
Stalact |
Fire or Ice (depending on elemental stance) |
None |
|
Jar |
Fire, Ice, Earth, and Lightning |
Resistant to Physical |
|
Contorsionniste |
Dark |
Resistant to Fire and Ice |
If at any point you suffer an unexpected defeat, you can simply re-attempt the fight with that same character, or someone else if you feel the need to change things up. Alternatively, you can always load a previous save from the pause menu, even during the battle, if you don't want to deal with waiting for the outcome.

Once you defeat all five bosses in each canvas, the double doors at the top of the stairs behind them will open. Go up the stairs and through the doors, where you'll find the Level 20 Base Shield Pictos (+1 Shield if not affected by any Shield on turn start) on the floor near a mirror to your left.


-
 OpenCritic Reviews
- Top Critic Avg: 92 /100 Critics Rec: 97%
- Released
- April 24, 2025
- ESRB
- Mature 17+ / Blood and Gore, Strong Language, Suggestive Themes, Violence
- Developer(s)
- Sandfall Interactive
- Publisher(s)
- Kepler Interactive


WHERE TO PLAY


- Engine
- Unreal Engine 5
- Genre(s)
- Turn-Based RPG, JRPG, Fantasy