Raids in Destiny 2 will often involve complex mechanics not seen anywhere else in the game. In easier raids like Root of Nightmares, only a few people need to do the mechanics to solve the puzzle or beat the boss. But in a more complex raid like Salvation's Edge, everyone must be doing their part and be 100% on the ball at all times.
This is especially the case for Verity, the fourth encounter of Salvation's Edge. Just like with Macrocosm in Root of Nightmares, Verity uses mechanics that are completely different from the previous three encounters. You won't be stepping on plates to generate Resonance anymore like in the first encounter. There are no bosses, but you will want some strong add clear weapons. Verity is an extremely complex encounter, but here is how you can beat it.

Destiny 2: Salvation's Edge Loot Table
Salvation's Edge offers a new set of gear that Destiny 2 players will want to get. Here are all of the equipment you can get from this raid.
Verity - How to Escape the Solo Room
Before starting the encounter, make note of the six statues in the room. These statues will be wearing the same armor as you and your raid team. It is very important to make sure that everyone changes the appearance of their armor so that they look as distinct and unique as possible. This also includes your Ghost shell. The reason for this will be explained later. To start the encounter, you will need to approach one of the statues in the room and use the "Free Guardian" prompt.
When the encounter begins, three players will be teleported into their own version of the room where this encounter takes place. Each teleported player will be entirely on their own. Players who were teleported should immediately check what symbol the statue that looks like them is holding. You will also see two more statues of the players that got teleported as well.
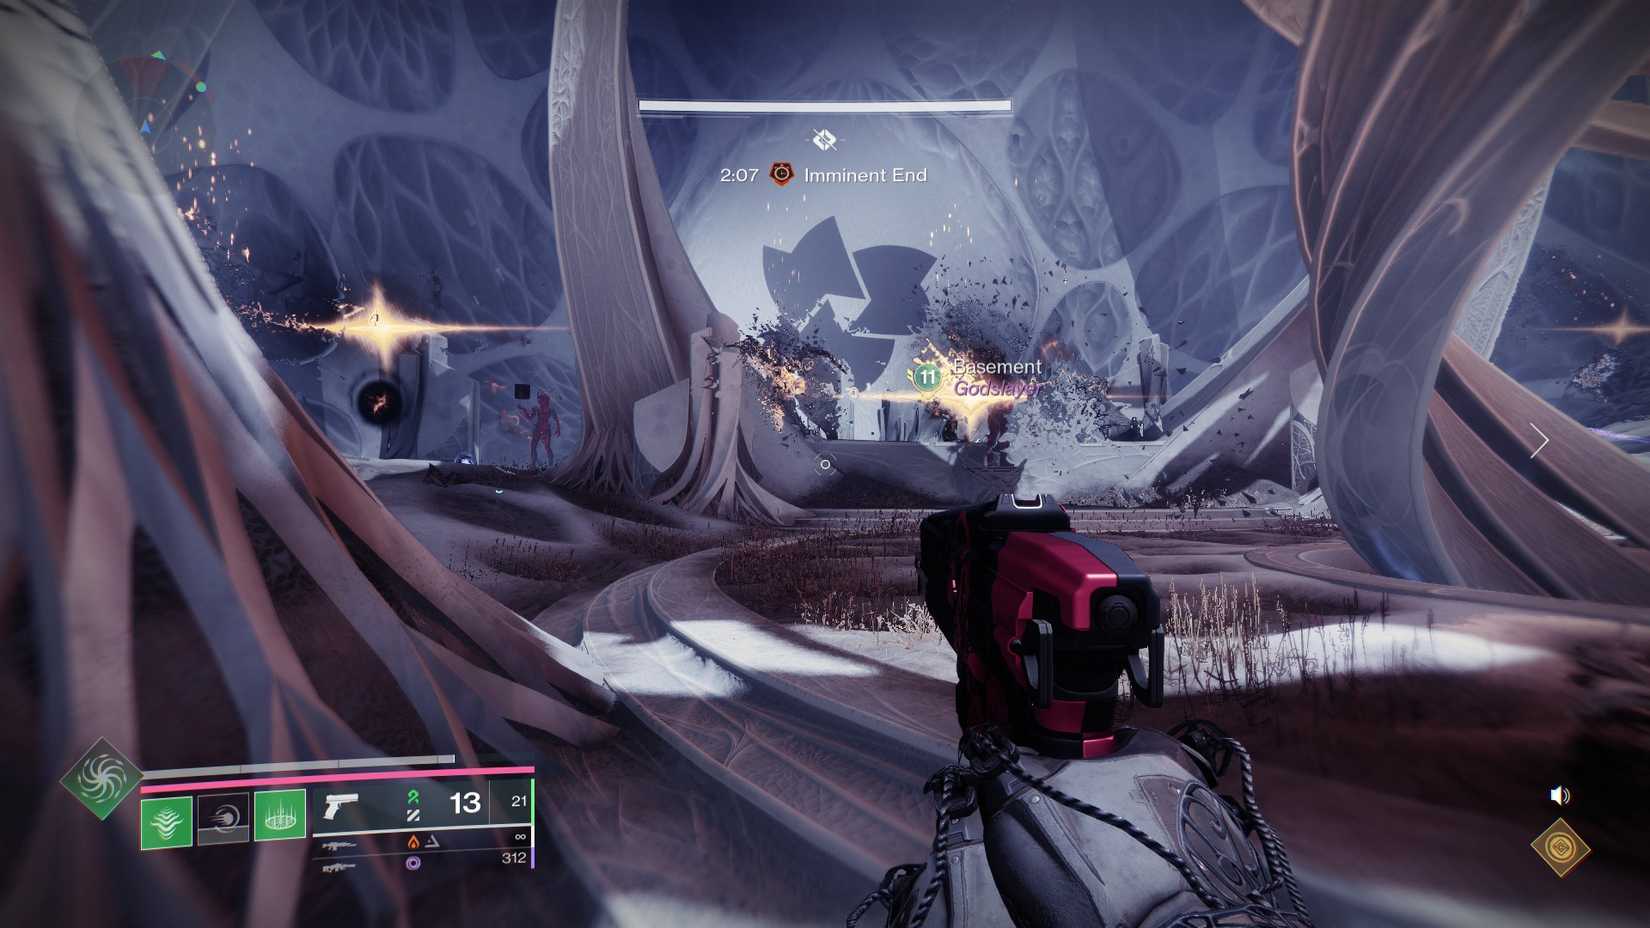
After that, look up at the shifting pattern on the wall. While it is possible for it to only show one shape, you will almost always see two other symbols that are not the one your statue is holding. For example, if your statue is holding a triangle, the wall will show a square and a circle. This wall indicates what shapes will drop when you kill the Hive Knights that spawn in your room. Take a symbol after it drops, and deposit it into one of the other statues. Doing so changes what symbol appears on the wall of the player whose statue you deposited the symbol into. The symbols that drop in your room can also change if your teammates deposit a symbol into your statue in their room.
During this phase of sending shapes to other solo players, do not pick up more than one symbol. Wait until everyone has what they need, and the outside team is ready.
If you ever need to pick up a new symbol, but don't have any Knights, kill the Ogre that spawns. Doing so spawns two Knights. The goal is for all solo players to eventually be holding one symbol while the projection on the wall shifts between the other two symbols that they don't have. So if you are holding a triangle, you will want a square and a circle to appear on your wall. When the time comes, you will want to kill two more Knights and pick up both of the symbols that appear on your wall. Once the outside team has finished their task, holding those two symbols will allow you to escape the solo room.

Destiny 2: 10 Best Legendary Raid Weapons, Ranked
The best Raids in Destiny 2 often feature Legendary weapons that can complement the power of every Guardian that wields them.
Verity - Dissection Team
While the three solo players are moving shapes around, the players who did not get teleported have their own mechanics to keep them busy. There will be three statues for these players as well, but they are holding three-dimensional shapes instead of the symbols that the solo players are swapping.
Just like the solo players, the outside team will need to kill Knights and pick up symbols. The goal of the outside players, however, is to adjust the three-dimensional shapes the statues are holding so that they will match the projections on the wall of each solo room. Essentially, your job is to adjust the three-dimensional shapes so that they match what the solo players need to escape. The three-dimensional shapes are formed by combining two-dimensional symbols. Below is a chart of what symbols create what three-dimensional shapes.
|
3D Shape |
Symbols Required |
|---|---|
|
Sphere |
Circle + Circle |
|
Cube |
Square + Square |
|
Pyramid |
Triangle + Triangle |
|
Cylinder |
Square + Circle |
|
Cone |
Circle + Triangle |
|
Prism |
Square + Triangle |
Each solo room will require its own unique three-dimensional shape. So, if one solo player needs a square and a triangle, that statue will need to be a prism. If another solo player needs a triangle and a circle, that statue will need a cone. To do this, the three outside players will need to look at each three-dimensional object and determine what needs to be changed based on the call outs of the solo players.
If one statue needs to be a Cylinder but is currently a Prism, you will need to swap out the triangle for a square. This can be done by killing a Knight that drops the symbol that you need to swap out. In the scenario of converting a Prism to a Cylinder, you would need to pick a triangle and then use the Dissect prompt on the statue, which is currently a Prism. Next, get a square symbol from a Knight and use the Dissect prompt on the statue that has the square you need.
Once this has been done for all three statues, and they match the solo rooms, the solo players will be able to escape by looting the two shapes needed to form that three-dimensional object. Having the correct symbols allows solo players to walk through the strange glass wall. Just like with solo players, the outside team will need to kill Ogres to spawn more Knights if they need more symbols. However, the Ogres that the outside team has to deal with will be Unstoppable Champions.
The Witness Intervenes
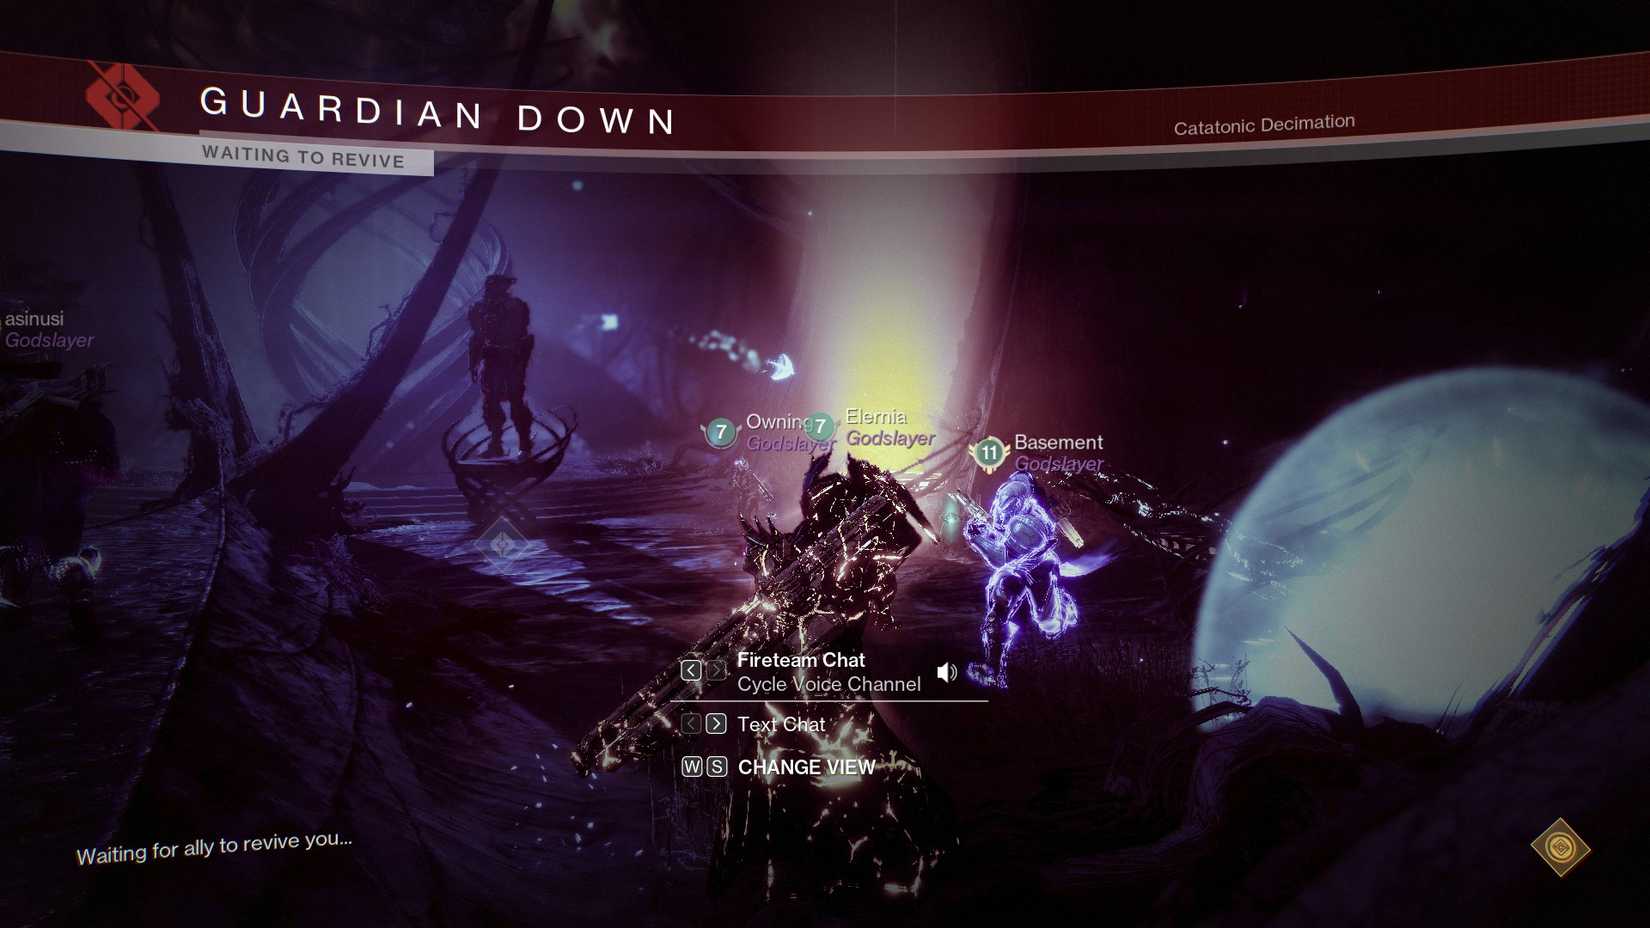
With the roles of both teams explained, it is time to discuss why you need to be able to tell Guardians and their Ghosts apart. While solo players are swapping their symbols, the Witness will "take notice" and will instantly kill all three players. These deaths do not trigger the "Light Fading" timer, nor do they expend revive tokens. The "dead" players will look like statues with glowing cracks all over them. The outside team can rescue them by finding the three Ghosts of the frozen players.
This is why you and your team all need to look unique, including what Ghost shell you have equipped. Essentially, everyone needs to pick up a Ghost and bring it to the area with the six statues. The problem is that the statues are invisible, so there will be three spots to place the Ghost. If placed in the right spot, the solo player will be revived, and they can resume whatever they were doing. If the Ghost is put in the wrong pedestal, the player who deposited the Ghost dies.
The "dead" players can see where the statue of one of the other "dead" players is, and they can help communicate to their team where they need to go. This mechanic comes up again after the three solo players have escaped. Once you've killed all the enemies and the two Unstoppable Champions, the Witness will "kill" all but one player. The last player standing will need to coordinate with the others to determine which player to revive based on the order that the "dead" players can see. This is why it is important for players to be able to quickly recognize which Ghost goes with which Guardian, as you won't have a lot of time before the timer runs out and everyone dies for real.
After all players have been successfully revived, they will need to repeat the entire process of escaping solo rooms, dissecting, and reviving "dead" Guardians. On the third completion of this loop, players will have successfully cleared this incredibly complex encounter. Grab your loot and continue onward, for there will no longer be anything standing between you and the Witness.

Destiny 2
- Released
- August 28, 2017
- Developer(s)
- Bungie
- Platform(s)
- PS5, PS4, Xbox Series X, Xbox Series S, Xbox One, PC, Stadia
- Genre(s)
- FPS


