While Bellara does her best, Anaris moves ahead with his plot to turn the elves of Arlathan Forest into an army of demons in Dragon Age: The Veilguard. The attempt to stop this plot culminates in the quest "Through the Shadows."
You first get access to this quest relatively late into the game, after you rescue the Arlathan elves kidnapped by the elven gods and Venatori. Once it's active, you'll need to visit the door in the Mystical Tower of Arlathan Forest, which is the same door used by the quest "Slaying the Fangscorcher." Fortunately, even if both Dragon Age: The Veilguard quests are active, you can complete them in any order.
How to Reach Anaris
To disrupt Anaris' ritual, you'll need to travel through a particularly unstable section of Arlathan Forest. Along the way, you'll need to solve two puzzles, and you can pick up several Mementos and chest items.
- Immediately after the opening cutscene ends, turn around and enter the building behind you. There's a small chest in front of two wolf statues.
- You can't use the path leading back to the rest of Arlathan, but you can find a Memento if you break some crates to the right of the staircase.
- Cross the broken bridge and go past the relaxing wolf statue. There's a Memento on the wall to your left in the next room, and both a small chest and a Codex item behind the howling wolf statue.
Keep going forward, and you'll reach the first puzzle of "Through the Shadows." The solution is fairly simple:
- Point the beam emitter you can reach at the power node above the door to the north.
- Go through the door and climb up to the second beam emitter. Point it at one of the two highlighted power nodes on the statues.
- Go back to the first emitter and point it at the other power node. Either emitter can point at either node.
A bridge will appear that will let you continue through the quest.

Dragon Age: The Veilguard Guide - Walkthroughs, Collectibles, Bosses, Quests, & More
This guide for Dragon Age: The Veilguard brings together all of The Best War Games's helpful posts for the game.
- There's a small chest on the left side of the room just past the bridge.
- Open the doors in this room and look to your left. There's a Fade breach that will explode if you get too close. Trigger this breach, and it'll destroy the wall behind it, giving you access to a small chest.
- In the room with the giant crystal, climb onto the pillar in the northwest corner to reach a small chest.
- Exit this room through the opening on the south wall, then jump across a few platforms to reach a small chest.
- Close to the platforms is a Fade breach you can use Spiteful Aura on. This creates a spiraling ramp you can use to reach a small chest and a Codex item. You can then climb back down by dropping onto a platform below you.
- After you beat the enemy waves and break the crystal, you'll find a large chest in the passage below.
Past a long series of platforms and a portal is the quest's second, more complex puzzle. Here's the quickest way to solve it:
- Go to the left (west) and pick up the power crystal. Don't forget to open the large chest next to it.
- Place the power crystal in the power node next to the left (west) beam emitter.
- Point the emitter at a power node on the south wall.
- Go west again and climb the ladder.
- Point the emitter you find at one of the two left power nodes.
- Jump across the bridge to reach the next emitter. Point it at one of the right power nodes.
- Take the stairs down and point the emitter on the lower floor at one of the right power nodes. Open the small chest behind the emitter.
- Activate the ladder in case you need to reach this area again.
- Take the power crystal and put it in the power node behind the right emitter. Point the emitter at the center power node.
- Head west again, but this time turn left when you see the ladder. Point the last emitter at one of the left power nodes.
- Activate the device in front of the barrier. When it goes down, open the large chest on the far side and jump down into the hole.
At this point, Cyrian and Anaris are one ominous hallway and a door away.
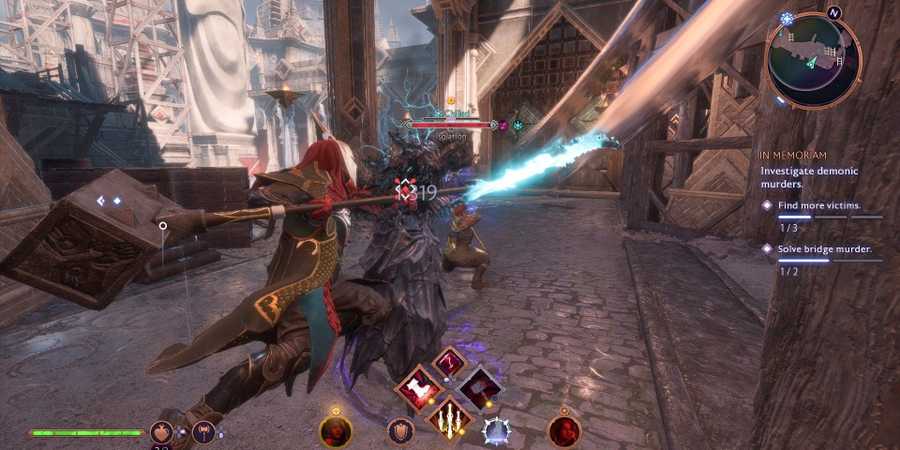
How to Beat Anaris

Cyrian does his best, but you'll have to fight Anaris to complete this quest. His basic type is a mage, and he's vulnerable to electricity while resistant to fire, but he has more than a few gimmicks that make this fight difficult.
- When combat begins, Anaris is behind a barrier that doesn't take damage. To break it open, destroy the three orbs that float behind the three statues surrounding Anaris. While this barrier is up, an unlimited number of Greater Shades and Voltaic Shades will spawn in.
- Anaris can hit you with a beam attack that he sweeps three times in a row.
- He has an ice projectile that's wider than it seems, and he fires up to ten of them.
- He can hit several random locations on the battlefield with explosions.
- He can fire two seeking projectiles at you, followed by a set of three projectiles.
- He can teleport to a new location, dealing damage to anyone close to the end point.
- Once you take out two-thirds of Anaris' health, he'll return to the center of the battlefield and regain his barrier. You'll need to break the glowing orbs and deal with spawning Shades again.
- After this point, when Anaris teleports, he leaves a series of explosions in his wake.
- Anaris retreats to the barrier again when he hits one-third health, and this time a set of ice beams radiate out and spin clockwise.
Here are some combat tips for this fight:
- Make use of the statues in this arena. Most of Anaris' attacks are projectiles and beams, and the statues are big enough to block his attacks.
- As a mage, Anaris is easy to interrupt. A powerful ability delivered by you or your companions can keep him from completing his lengthy spells.
- Focus on destroying the glowing orbs first, then focus on the Shades, and then focus on Anaris. Until you can focus on Anaris, keep your distance, and keep moving.
Completing this quest earns you 2,500 XP, a Keepsake for Bellara, 400 gold, and +100 Veil Jumpers Strength.

Dragon Age: The Veilguard Players Figure Out The Viper's Real Identity
While Dragon Age: The Veilguard subtly hints at The Viper's true identity, some investigative work allows fans to finally figure out who Ashur is.
Should Bellara Free or Keep the Archive?

Once you complete "Through the Shadows," you can find Bellara in front of her workshop. She has a tough decision to make: should she keep the Archive spirit, knowing how much potentially dangerous knowledge it has, or set it free so that no one can access its information? Bellara will become a Hero of the Veilguard either way, but this choice determines which skill and armor she gets.
Set the Archive Free
- Bellara gets the Veilguard skill Chain Lightning. The Shocked ailment is 10 percent more effective, and her weapon attacks deal an extra 100 Electric damage to Shocked enemies.
- She gets the legendary armor Reborn Leathers. While she wears it and is in the main party, all Detonations apply Shocked and deal an extra 200 electric damage.
- Bellara will say farewell to Cyrian using a modern elven ritual.
Keep the Archive
- Bellara gets the Veilguard skill Lingering Strike. Her Replenish ability Weakens all enemies in a 6-meter radius of you, and when Bellara Weakens an enemy, they also take 200 damage and apply Shocked.
- She gets the legendary armor Archivist's Mail. While she's in the main party, Detonating a Sundered enemy can cause a second Sundered enemy to Detonate, and enemies close to the second Detonation become vulnerable to Electric damage.
- Bellara will say farewell to Cyrian using an ancient elven ritual.

Dragon Age: The Veilguard
- Released
- October 31, 2024


WHERE TO PLAY


- Developer(s)
- BioWare
- Publisher(s)
- Electronic Arts
- Engine
- Frostbite
- Franchise
- Dragon Age
- Platform(s)
- PC, PlayStation 5, Xbox Series S, Xbox Series X
- Genre(s)
- RPG