

Ginormosia is the biggest region in Fantasy Life I: The Girl Who Steals Time, featuring a variety of different biomes and areas. Each area in the region features a Googlancia Tower, examining which adds the area's map to the player's tablet. It's needless to say how important maps are for exploring the region and finding resources.

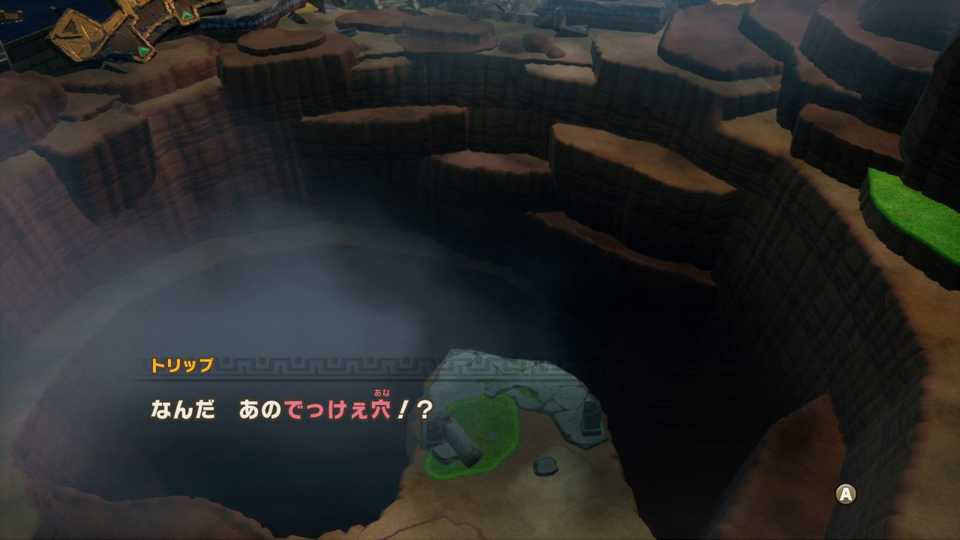
Where to Find Banaan Cave in Fantasy Life i (& the Items/Enemies Waiting Inside)
One of the bulletin board tasks in Fantasy Life i: The Girl Who Steals Time requires players to find the Banaan Cave. Here's how to find it.
In between, each area of Ginormosia hosts one or two Shrines. If you are looking for Strangelings, completing Shrine challenges is the way to go. Every Shrine has a trapped Strangeling that is only set free once the player beats the challenge, be it defeating some enemies or solving a puzzle. Shrines are not located on the map by default, and players must discover them on their own — or use others' experience!
West Dryridge Desert Shrine Location

- 1 Shrine
As the first location that players unlock in Ginormosia, some of the points of interest in the West Dryridge Desert are unlocked by progressing through the story quests. This also includes the Jo'ee Shrine, located in the southeast of the region next to the border with East Dryridge Desert. This is the only shrine in this region.
East Dryridge Desert Shrine Location

- 1 Shrine
Similar to its western half, the East Dryridge Desert also hosts only one shrine. To locate Sed'nas Shrine, players need to travel toward the southernmost bay of the region, and before reaching the ocean, the shrine should be spotted on top of a tall cliff. You may need to leave your mount and climb up on foot to reach the shrine.
South Greatgut Plains Shrine Locations
- 2 Shrines
South Greatgut Plains offers access to two shrines. The Fan'ni Shrine can be found in the eastern half of the area, having almost equal distance from the ocean and the border with East Dryridge Desert. It's sitting on top of the tallest cliff in the area. So, you may not see it before actually reaching the location.
The next shrine, Be'ranh Shrine, is a little bit to the west of Fan'ni Shrine. It's pretty close to the bay and actually a bit hard to spot from a distance, as it's hidden behind the tall cliffs.
Viridia Plateau Shrine Locations
- 2 Shrines
Sker'ri and Angar are the shrines that you can find in Viridia Plateua. They are almost located on a horizontal line, one on the west side of the area, and the other on the tip of the eastern bay.
Sker'ri Shrine is located pretty close to the borders of East Dryridge Desert and South Greatgut Plains, but you can just cross the border and reach the shrine. It's surrounded by an impassable forest. So, you must go inside Viridia Plateau first, circle around the forest, and find the narrow path inside.
The Angar Shrine, on the other hand, is on top of desert cliffs, but it's a short walk from Virida's Googlancia Tower.
West Greatgut Plains Shrine Location

- 1 Shrine
Moving north from the South Greatgut Plains will lead you to the western area of the Greatgut Plains. There is a giant castle in the middle of this area that is locked behind some sort of magic, which unlocks once players complete all shrines.
Pass by the castle toward the north, and you will find Eeg'ah Shrine adjacent to the Crickneck Canyon's border.
East Greatgut Plains Shrine Location

- 1 Shrine
You need to move southeast from Eeg'ah Shrine to reach Besh'fal Shrine in East Greatgut Plains. Along the way, you will pass by a body of water with tiny isles on it, which is a good sign that you are close to the shrine. There are some desert cliffs southeast of the isles, on top of which the shrine is located.
Pettlewing Wood Shrine Location
- 1 Shrine
This is the most difficult and complicated shrine to discover. The shrine is actually located inside a maze in Pettling Wood. Head to the marked location on the map to enter Pettling Forest. Continue exploring the forest inside until you reach the marked path in the second image.
This path leads you to a maze puzzle that you are probably familiar with if you have made enough progress in the campaign. The maze puts you in a room with multiple paths available, and only one of them is the correct path. If your screen fades to white after entering a path, it means the path was wrong, and you have been returned to the first room of the maze. However, if the screen transitions to black, it means the path was correct, and you are in the next room of the maze.
The correct path is Left, Right, and Left. So, you take the left path in the first room, the right path in the second room, and finally the left path again in the third room. If you do it correctly, the fourth room is where the shrine is located.

Fantasy Life i: The Girl Who Steals Time - How to Do Excellent Gathering
Excellent gathering gives more rewards in Fantasy Life i: The Girl Who Steals Time, but it's hard to pull off without the right skills.
Shroomhaven Shrine Location

- 1 Shrine
This shrine is not on the main body of Shroomhaven but on top of a small isle south of it. You can simply swim towards the east from the Pettling Wood forest's entry, and you will spot the shrine from afar. However, if you have discovered Shroomhaven's Googlancia Tower, that is a much better shortcut.
Wingtip Valley Shrine Locations
- 2 Shrines
The northeastern area of the map hosts two shrines: Gela'shi and Ree'lif. The former is located adjacent to the border with Moltana Wastes, near the northern bay. If you are coming from East Greatgut Plains, just follow the main path to the north on the map, and you will reach Gela 'shi Shrine.
Ree'lif is even easier to locate. Just head to the northeast corner of the area, and the shrine is there.
Moltana Wastes Shrine Location

- 1 Shrine
Moltana Wastes is home to a mountain with lava rivers around it, but to find its shrine, you don't even need to climb the mountain. War'yu Shrine is located on the southeast foot of the mountain, next to the border with Wingtip Valley.
Scorchrock Mountains Shrine Location

- 1 Shrine
Scorchrock Mountain is a region on the west side of Moltana Wastes. It has only one shrine, located on the far western tip of the area, just before reaching the ocean.
Crickneck Canyon Shrine Locations
- 2 Shrines
Moving south from the Scorchrock Mountain and beyond the water, you will reach Crickneck Canyon with two shrines. Dahl Shrine is located almost in the middle of the area, closer to the northern bay. You will find a big body of water inside the area, and the shrine is west of it.
Faan Shrine, on the other hand, is in the southern part of the area. You will need to move south and a little bit east from the Dahl Shrine to find the Faan. It's in a grass field surrounded by deserted cliffs.
Fangshore Isles Shrine Location

- 1 Shrine
If you continue moving to the west from the Western Greatgut Plains, you will reach water, and beyond the water, there are a series of islands next to each other. War'ii Shrine is located southwest of the isles in the path between Fenshore Isles and Drakesnout Range.
Drakesnout Range Shrine Location

- 1 Shrine
Moving southwest from War'ii Shrine is the path to reach Thril'ah Shrine. It's close to the western bay of Drakesnout Range. You will need to climb up the desert cliffs, and beyond them, you will find the shrine in a small grass field.
Drakeseye Valley Shrine Locations
- 2 Shrines
The final area, Drakeseye Valley, is home to the final two shrines. One of the shrines, Bit'ah Shrine, is located on the northern tip of the area, which is quite easy to locate. The next one, Happi Shrine, is on the eastern border with Fangshore Isles. It's on top of a series of desert cliffs, overlooking the isles.


-
 OpenCritic Reviews
- Top Critic Avg: 85 /100 Critics Rec: 96%


WHERE TO PLAY

- Platform(s)
- Nintendo Switch, PC, PlayStation 4, PlayStation 5, Xbox Series X, Xbox Series S, Nintendo Switch 2