Revelations from the Past is a sub quest from the Between Pledge and Forgettance World Quest chain in Genshin Impact. The quest is the third and final part in the series, which means it does have prerequisites players need to complete before gaining access to it.
Genshin Impact players need to complete Rite of the Bold to unlock this quest. Coincidentally, Rite of the Bold is also locked behind three quests: Lost in the Woods, Tales of Dreams Plucked From Fire and Shadows of the Mountains. Make sure you have completed all these quests to gain access to Revelation from the Past.

Genshin Impact: All Night’s Trial Locations (Special Obsidian Totems)
Get ready to face grand challenges against these bosses at the Night's Trials in Genshin Impact.
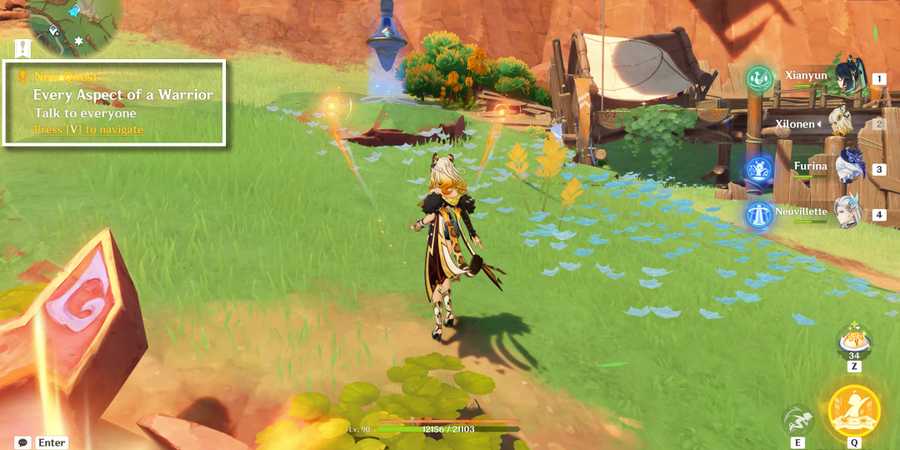
Revelations from the Past Quest Walkthrough

After completing Rite of the Bold, the quest will immediately unlock and players can follow the navigation to the ruins near Sulfurous Veins. Before you head inside, make sure you have a party that can fight as there will be some rifthounds blocking the entrance. Speak to Manqu after you’re done and open the barrier at the entrance.
How To Open The First Barrier

During this quest, you’ll have the special ability to navigate your personal saurian and see the world through its eyes. You need to make the traveler stand on the yellow circle and the saurian on the green circle. Navigating him is pretty easy, as all you have to do is press the glowing green button on the screen to transfer yourself into the character. This is also the ‘T’ button for any PC players.
Once the entrance barrier is open, head down the stairs and the corridor towards a teleport waypoint. Make sure to pick up the Exquisite Chest on the ledge before dropping down into the hole in front of you. This will bring you to a new area with another barrier to break. This one is a little more complicated than the first. Before you start, equip a pyro character to make things easier.
How To Open The Second Barrier

-
First, pull the lever once to raise the platforms and then shift your perspective to the Saurian. Burrow underground when you move as this is much faster and easier, and head across the platform. Turn left and go towards the room with the
 Pyroculus.
- You need to use the Tepetlisaurus attack ability to break the rocks and free the pyro totem. After doing so, swap controls back to your character and run towards the pyro totem to light it up.
- Switch back into the Saurian, head across the platform bridge again, and to the other side. You will need to slowly scale the wall in front of you until you come across another switch. Hit the switch to change the platform colours from green to orange.
- Once the platform turns orange, swap perspectives again and move your character onto the orange platform. Then, swap controls again to the Saurian, and hit the switch one more time.
- This will change the platforms from orange to green and raise them to the correct height. All you have to do now is head over to the green platform in your Saurian form, and the barrier is broken.
Head through the large doorway in front of you and don’t forget to pick up the Precious Chest along the way. As you press on forward, there will be a large corridor and cutscene that will play once you enter it. Continue on and follow the navigation which states you have to separate from your Saurian companion to open the next door.

Genshin Impact: Firethief’s Secret Isle Guide (Natlan Invisible Island)
Firethief’s Secret Isle is a hidden area in Natlan; players can collect Chests there, and an item required for a Luxurious Chest in Genshin Impact.
How To Unlock The Mechanism (Tepetlisaurus Puzzle)

This is where things get a little tricky because now you have two puzzles to complete for both your Saurian and yourself. The navigation automatically sends you to the Tepetlisaurus puzzle first because that’s relatively easy.
- Once you’re in the cavern with the lake and trees, burrow into the ground and head towards the first rock formation you see. Use the Tepetlisaur attack to break it and that will release a phlogiston emitter.
- You need to stay away from the water and stick to the sides of the cavern. Keep digging into the ground and break all the rocks that you see. The second one will give you an Exquisite Chest.
- The third rock will reveal a Tremulous Crystal that needs to be hit. Doing that will cause more to surface, so just keep spamming the attack button to light them all up at once.
- The crystal will then drop, creating a bridge for you to cross over. Use the log towards your left as well and try not to get wet when passing through onto the other side.
- Continue forward until you see circles on the ground and use your Saurian’s attack on them. This will break it and another Tremulous Crystal will appear.
- Hit the first Tremulous Crystal and another one will appear for you to hit again. Keep doing that until all of them pop up and a cutscene plays of the final crystal falling. Use the new makeshift bridge to head towards the platform and wait there.
How To Unlock The Mechanism (Character Puzzle)

Make sure your characters are at full health before continuing, since the character puzzle involves lasers and lava (liquid phlogiston). After completing the Tepetlisaurus part of the puzzle, swap your control over to the character and head down to the area below. Be mindful not to touch the lasers as this will trigger a pool of lava to rise up.
- Break the stone wall to your left and you’ll see a Pyroculus. You can grab that and head up the stairs behind it. You’ll come to an Exquisite Chest which you can claim, before you keep heading straight till the edge.
- You’ll then need to fly across the lasers and stick to your left inside you lose height. There will be some metal bars that will immediately disappear, so don’t put any of your hopes on landing there. Just keep yourself in the air as long as you can, before landing on the other side.
- As soon as you land on the other side, a bunch of scattered lasers will materialize. Players will need to do their best here and weave through the laser without touching them. If you do end up accidentally touching one and the liquid phlogiston begins to rise, quickly run to the other side. You might lose some HP but not enough to kill your character.
- Click on the switch in front to turn off the lasers and open a new door. Head through it and keep going until you see a lever. Interact with it to lift the lasers in front of you and raise the platforms on the Tepetlisaurus side.

Genshin Impact: Gluttonous Yumkasaur Mountain King Boss Guide
Genshin Impact players farming for Kinich or Kachina can fight the Gluttonous Yumkasaur Mountain King for materials.
- Next, head down the platform and collect the Precious Chest at the end. Then, switch to control your Saurian and move him up the platforms to stand in the green circle.
- Switch back to your character and then head up the stairs to the pyro totems. You don’t have to use a pyro character here since you can trigger the laser to make the lava rise instead.
- Doing this will activate the pyro totems and unlock the switch at the top of the stairs. Players will need to be fast here, because the lava falls just as fast as it rises.
- Finally, use the other switch to your right next to the inscription and then keep heading straight until you come to a mural. Stand on the yellow marker, then switch to your Saurian and do the same for him with the green marker.
- This completes the puzzle and a cutscene will play.
Enter The Lava And Fight The Wolflord

After the cutscene, meet up with your Saurian by navigating him onto the platform below. The dialogue will play out and another cutscene will run. This will lead to a fight that players have to win to complete the quest. There will be multiple enemies and a Golden Wolflord that is corrupted by the Abyss. This Wolflord is completely different from the world boss in Inazuma as it mainly floats outside the area.
This makes landing any attacks on it extremely hard, so remember to take a bow character to help out with this. It also tends to spam its laser/roar attack and the best way to survive it is by dashing underneath it. Once you and your Saurian have successfully defeated it, touch the inscription and you’ll be teleported to a region off the map. Just follow the voice and play through the dialogue to complete the quest.
Players will receive 2 Precious Chests and 1 Luxurious Chest afterward. They can also obtain an achievement as well.

Genshin Impact
- Released
- September 28, 2020


WHERE TO PLAY


- ESRB
- Teen / Alcohol Reference, Fantasy Violence, In-Game Purchases (Includes Random Items), Users Interact
- Developer(s)
- HoYoverse (Formerly miHoYo)
- Publisher(s)
- HoYoverse (Formerly miHoYo)
- Engine
- Unity
- Multiplayer
- Online Co-Op
- Cross-Platform Play
- All platforms
- Cross Save
- All platforms
- Platform(s)
- PlayStation 5, PlayStation 4, Xbox Series X, Xbox Series S, PC, iOS, Android
- Genre(s)
- RPG, Action, Adventure, Gacha, Open-World