

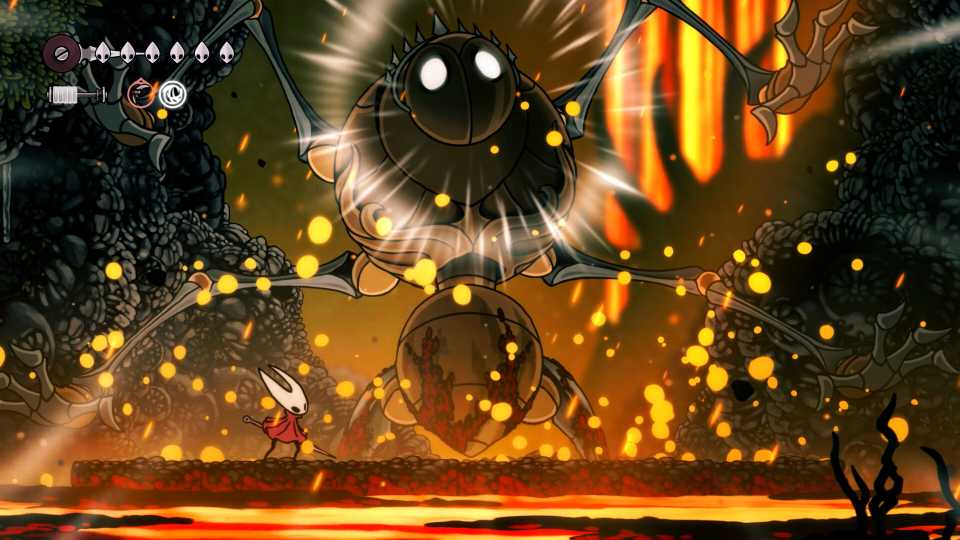
The High Halls gauntlet is one of the most challenging combat encounters in Act 2 of Silksong, requiring players to overcome eleven waves of enemies one after the other with no rest in between.
Players stuck at this encounter will want to know how to get past it, as completing it is a requirement to progress one of the main quests in Silksong. This guide covers two methods: one that turns the High Halls gauntlet into an auto-win, and a second that shows players how they can succeed using more honest means.

All Hollow Knight Silksong Tools (List and Locations)
A complete list of all 65 Silksong tools, with information about what they do and where exactly you can find them.
How to Beat High Halls Gauntlet Easily in Silksong
High Halls Gauntlet Cheese Method

If you complete Shakra's questline before tackling the High Halls gauntlet, you can enlist her to aid you in battle outside the room. Doing so will ensure she carries you through the fight. Similar to the other times she helps you out in combat encounters, Shakra is essentially invincible and will eventually clear the entire gauntlet by herself if you manage to keep yourself safe.
Completing Shakra's quest in Silksong requires that players find the map maker in Bilehaven.
The easiest way to keep out of danger is to equip the  Ascendant's Grip Tool and stick to a high point on a wall to avoid most of the enemies and watch Shakra take care of them all one by one. You may need to fend off the occasional bee that decides to fly into you, but the gist of it is the same.
Ascendant's Grip can be purchased from Jubilana in Songclave after completing The Wandering Merchant quest.
How to Beat High Halls Gauntlet Without Shakra in Silksong
High Halls Gauntlet Strategy

While Shakra certainly makes things a lot easier, going through the infamously tricky region of Bilewater is no easy task either. For players who want to beat the High Halls gauntlet honestly, here's the strategy.
|
Crest |
|
|---|---|
|
Red Tools |
|
|
Blue Tools |
|
|
Silk Skill |
|
 Reaper Crest
 Flea Brew
 Tacks
Tacks Warding Bell
 Multibinder
 Thread Storm
The main difficulty in this challenge is the two Maestros (Bee Summoners) in the fifth wave and the two Choir Slappers (bosses) in the eleventh wave. While the other waves are tricky in their own right as well, they are not as difficult to complete as these two sections of the gauntlet.

Reaper Crest is used for its easy pogo and excellent range, which makes it the most beginner-friendly option among all the rest. Thread Storm solves the two Maestro encounter, as it can get rid of the summoned bee constructs that circle around the enemies, making the fight much easier. As for the double boss fight, Tacks make the final wave very easy, as this Tool allows players to deal massive damage to one of the bosses at the very start of the wave, making the rest of the fight essentially a 1v1.
Tacks can be obtained by completing the Roach Guts quest in Sinner's Road.

Defensively, Multibinder allows players to heal 4 masks' worth of healing using the same amount of Silk, and the Warding Bell protects them while they do it. Since the top left or right corners of the High Halls gauntlet room are excellent spots for healing where few enemies can reach, these items show full value here.
Multibinder can be purchased from the vendor in Bellhart for 880 Rosaries.
|
Enemies |
Strategy |
Screenshots |
|
|---|---|---|---|
|
First Wave |
|
Head to the left corner of the room and pogo on top of the melee bug. This will attract the remaining two bugs to your position, allowing you to kill all of them in one or two Thread Storms. |

|
|
Second Wave |
|
Keep pogoing on top of these two enemies' heads to avoid their needle attack. Keep an eye out for when they jump up and dodge as necessary. If done correctly, you should be at full Silk in time for the next wave. |

|
|
Third Wave |
|
Try to attract all three enemies to a corner of the room and use Thread Storm to take care of them easily. The Clawmaiden moves erratically but the other two should be easy to draw towards the right side. |

|
|
Fourth Wave |
|
The flying enemies here only have two attacks, and both have the same range. Do not let them stand on either side of you; make sure they're on the same side of the room, and use the Reaper Crest's inherent pushback to keep them there. Once one of the Ministers dies, a Clawmaiden will spawn in. Try to ensure both Ministers go down one after the other to avoid getting swarmed. Make sure you're at full Silk for the next wave. |

|
|
Fifth Wave |
|
These enemies are the main reason why we are using Thread Storm for this attempt. Using Thread Storm near one will destroy all the bees surrounding the summoner, allowing you to jump attack him to death. If you have enough Silk, you can use four Thread Storms, two on each Maestro, to take them out without ever having to swing the sword. |

|
|
Sixth Wave |
|
Use the Flea Brew just before the Choir Clapper (boss) comes down to the ground to give yourself a speed bonus. As soon as it lands, start spamming attacks, and you'll be able to get quite a few hits in before it reacts. From then on, keep pogoing off its head for as long as possible, and once you get low, go to the top left corner to heal; it has no way to get there. |

|
|
Seventh Wave |
|
Bait these enemies together to easily take them out using Thread Storm. Your Silk should be at maximum capacity from the previous wave. |

|
|
Eighth Wave |
|
If you have leftover Silk, use more Thread Storms; otherwise, focus on one of the Bellbearers to farm up Silk to take out the other Bellbearer and Choristor. The Clawmaiden can be taken out using regular attacks. |

|
|
Ninth Wave |
|
The Bellbearer is the first target here, but it can be tricky to get to without pogoing off of the Minister's heads, which is quite risky. Run to the edges of the room to try and bait the Bellbearer downward, then take him out. From then on, this wave is the same as the fourth wave. |

|
|
Tenth Wave |
|
Use Thread Storm to deal with the Maestro's bees, then attack it repeatedly to finish it off. Leave the Reed for last. |

|
|
Eleventh Wave |
|
Drink the Flea Brew and place all 6 charges of Tacks underneath the first Choir Slapper. The idea is to take down one of the two bosses first before focusing on the second. Keep pogoing off of their heads, but make sure to keep track of which one you're aiming to kill first; it's easy to get them mixed up. Once one is dead, the rest of the fight is simple. The top edge of the arena is a safe place to use Bind to recover health. None of their attacks can reach you there. |

|


-
 OpenCritic Reviews
- Top Critic Avg: 91 /100 Critics Rec: 97%
- Released
- September 4, 2025
- ESRB
- Everyone 10+ / Fantasy Violence, Mild Blood
- Developer(s)
- Team Cherry
- Publisher(s)
- Team Cherry


WHERE TO PLAY


- Platform(s)
- PlayStation 5, PlayStation 4, Xbox Series X, Xbox Series S, Xbox One, Nintendo Switch 2, Nintendo Switch, PC
- OpenCritic Rating
- Mighty