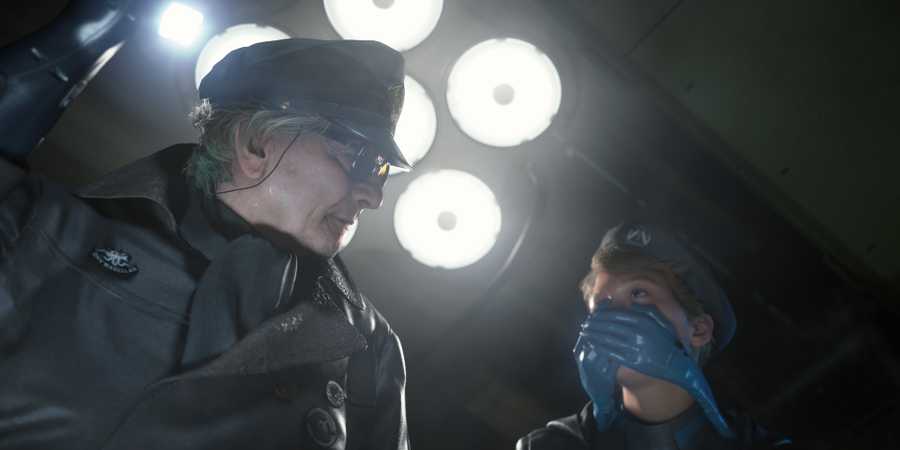
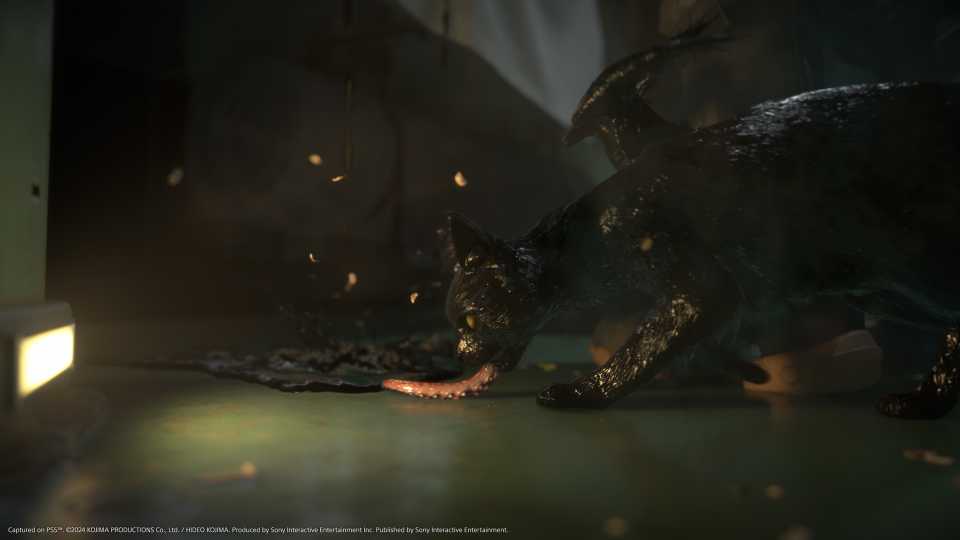
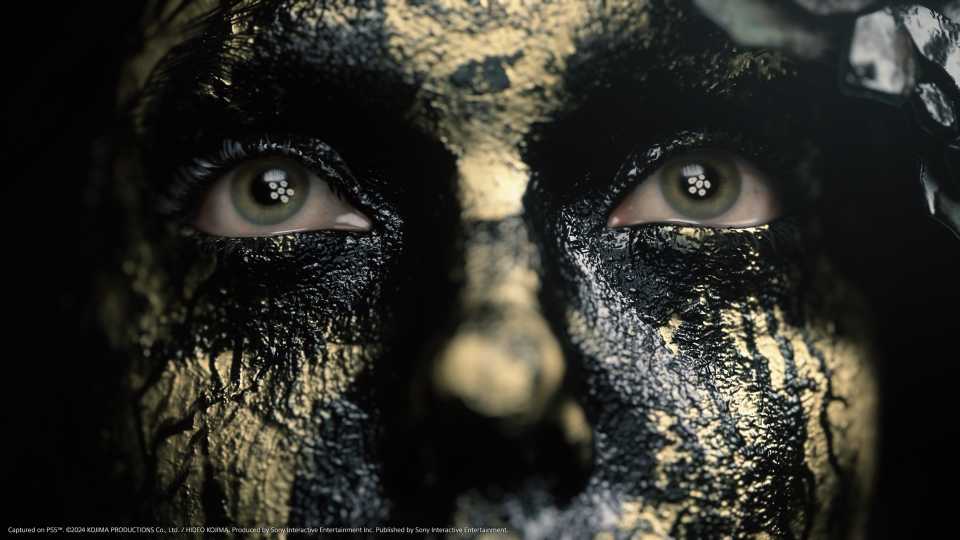
Death Stranding 2: On the Beach is a truly stunning game. With realistic terrain, lush flora and fauna, and an insane level of detail going into the most minute details of the landscapes, there's a lot for players to gawk at as Sam goes about expanding the Chiral Network. For those wanting to capture some of their favorite moments or sights in the game, Death Stranding 2 has a photo mode that allows players to use a variety of in-game options to tweak the look and style of a screenshot before they save it.

Should You Choose Quality or Performance Graphics Mode in Death Stranding 2?
Wondering which is the best graphics mode for Death Stranding 2? Here's which one you should choose on PS5 and PS5 Pro.
How to Use Photo Mode in Death Stranding 2
A Press of the Touchpad Away

To access photo mode, players need to press and hold the left side of the touchpad on their DualSense controller. After a second or two, the gameplay will pause, and players will get free rein of the camera in Sam's immediate surroundings.
To take a photo in photo mode, players need to make any changes they want to using the settings (a full breakdown can be found below), and then press Square to hide the menus/ HUD. Then, press X and the game will take a screenshot. This can then be displayed in your private room at outposts across Mexico and Australia.
All Photo Mode Settings and Options in Death Stranding 2

Death Stranding 2's photo mode has an extensive number of options that allow players to tweak how their screenshots look before taking them. I've listed all of these below, explaining what they do, so you know how to get the desired effect on your photo. The settings are broken down by their respective 'Tabs,' which can be accessed by using L1 and R1.
- Show Grid - Accessed with R3 at any time and helps players line up different elements of the photo.
- Increase Camera Speed - Accessed with L3 at any time. Adjusts the camera speed to make moving the camera around more precise or faster.
- Hide Menu - Press Square to hide photo mode's menus.
- Reset - Press Triangle to remove any applied effects, filters, or camera positioning changes.
- Take Photo - Press X to take the photo.
- Adjust camera - L2 and R2 will lower and raise the camera, respectively, while the left analog stick will be used to zoom the camera in and out or pan it around the environment.
Game
- Show UI - Toggles whether UI elements are visible.
- Show Signs - Toggles whether signs placed by you or other players are visible.
- Show Odradek Scan - Toggles visibility of the Odradek scanner and the visual effect it applies to the surroundings.
Camera
- Focal Length - Adjusts the angle of view and magnification of the image.
- Roll - Rotates the camera clockwise or anti-clockwise.
- Change Depth of Field - Toggles the ability to adjust the below settings.
- Autofocus - Turns autofocus on or off
- Focus - Allows you to change the focus range to bring objects in the foreground or background of an image into focus.
- Aperture - Changes the aperture which adjusts the amount of light that gets into an image, as well as the depth of field.
Brightness/Filter
- Exposure - Increases the brightness of an image.
- Contrast - Adjusts how vibrant and 'strong' colors are.
- Color Filters - Allows players to use different filters (in the setting below).
- Filter Type - Choose between different filter options.
- Filter Strength - Adjusts how strong the filter's effect is.
- Noise - Allows players to change how much noise or 'distortion' there is in an image. Imagine a static-like effect over the top.
Lens Effect
- Vignette - Toggles vignette on an image on or off.
- Vignette Size - Adjusts the size of the vignette, which is the darkening of the image around the edges, especially in the corners.
- Vignette Strength - Adjusts how noticeable the vignette is.
- Lens Distortion - Allows for a 'fish eye' like effect.
- Chromatic Aberration - Creates a distortion-like effect that creates colored lines around objects.
Sam
- Show Sam - Remove or include Sam in the screenshot.
- Sam's Pose - Changes how Sam is posing in the image.
- Sam's Expression - Changes Sam's facial expression.
- Sam's Eyeline - Adjusts where Sam's eyes are looking.
- Turn Sam's Face Toward Camera - Toggle to adjust Sam's head position.
- Turn Sam's Body Toward Camera - Toggle to adjust Sam's body positioning.
- Tilt Weight - Adjusts how much Sam tilts his head toward the camera.
- Detailed Tilt Settings - Enables the use of the two below settings.
- Face & Body Tilt (Vertical) - Allows for minute adjustments to Sam's face and body positioning on the vertical axis.
- Face & Body Tilt (Horizontal) - Allows for minute adjustments to Sam's face and body positioning on the horizontal axis.
Lou and Dollman
- Lou's Pose - Changes how Lou is posing in an image.
- Lou's Expression - Changes Lou's facial expression.
- Lou's Eyeline - Adjusts where Lou is looking.
- BB Pod Light - Adjusts the brightness of the light in the BB Pod.
- Dollman's Pose - Changes how Dollman is posing in an image.
- Dollman's Expression - Changes Dollman's facial expression.
- Dollman's Eyeline - Adjusts where Dollman is looking.
Frame
- Frame - Provides a choice of frames to be used around the image.
- Logo - Applies a logo to the image.
- Logo Color - Changes the color of the logo.
- Logo Position (Horizontal, Vertical, and Rotation) - These three settings adjust the exact positioning of the image horizontally, vertically, and rotationally within the screenshot.
Light
- Light - Gives different lighting options
- On/Off - Toggles the additional lighting option on or off.
- Show Shadows - Toggles shadows on or off.
- Intensity - Adjusts the intensity of the additional light source.
- Hue - Changes the color or hue of the light source.
- Saturation - Adjusts the saturation of the hue of the light source.
- Spread - Changes how the light is spread across the image.
- Softness - Adjusts how soft or harsh the lighting is.
- Directional controls - Changes where the light source is within the context of the image.
Where to Find Photo Mode Screenshots in Death Stranding 2
Look Back at Your Favorite Photos
Any screenshots players take in photo mode can be found in the PlayStation 5's 'Media Library', which can be accessed from the main menu or the 'Apps' section if it hasn't been recently used. In-game, photo mode screenshots can be viewed in the Social Strand Service's Photos tab, accessed from the ring terminal menu (Options button).
Any screenshot taken in photo mode will have a photo frame with a little star in the bottom right corner of the thumbnail in the PS5's Media Gallery.


-
 OpenCritic Reviews
- Top Critic Avg: 90 /100 Critics Rec: 95%
- Released
- June 26, 2025
- ESRB
- Mature 17+ // Violence, Blood and Gore, Partial Nudity, Strong Language
- Developer(s)
- Kojima Productions
- Publisher(s)
- Sony Interactive Entertainment