Lost in Alivel Mall is the second stage in Kirby and the Forgotten Land's Star-Crossed World DLC. While it is not mandatory that players find every collectible and complete every mission in this stage, some players will undoubtedly be interested in doing so. This guide is written with those players in mind, and it will help them reach 100% completion in Kirby and the Forgotten Land's Lost in Alivel Mall stage.
The route detailed in this guide is not the only way to reach the end of Lost in Alivel Mall. That said, players will not be able to complete all the stage's missions if they take an alternate path.
Lost in Alivel Mall 100% Guide - Kirby: Star-Crossed World
Small Starryflower #1

One of the optional missions in this stage instructs players to make five Small Starryflowers bloom. The first one can be found at the bottom of the ramp that appears upon striking the large crystal at the very beginning of the stage. Come into contact with the Starryflower to make it bloom.
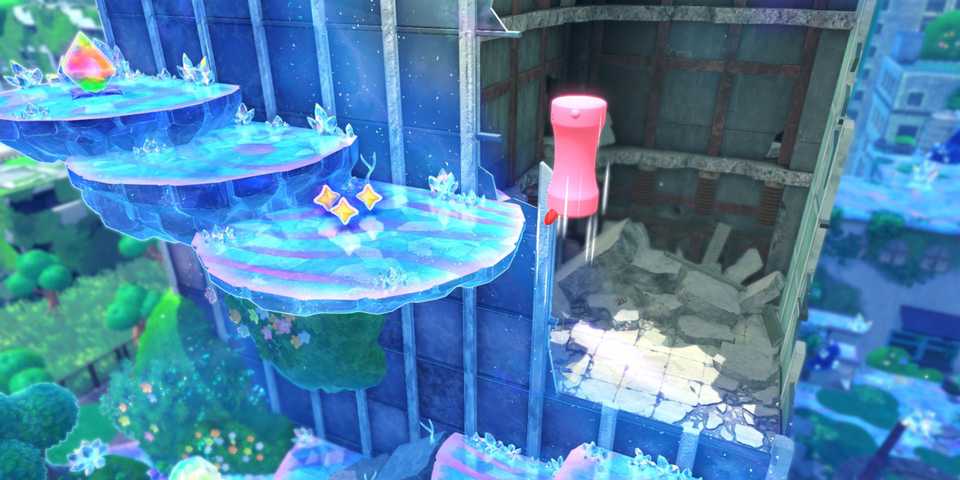
Defeat the Crystal Monster That Shoots Meteors Without Getting Hit By a Meteor
Climb the ramp, enter the mall, and follow the path forward to encounter the crystal monster. Defeat this foe without getting hit by any of its meteors to complete this mission.
Hidden Starry #1
Beating the crystal monster causes a ramp to appear, and it leads directly to the first hidden Starry.
Small Starryflower #2
Return to the location where you fought the crystal monster and cross the metal bridge. Climb the ladder on the right to enter a room with the second Small Starryflower.
Capsule #1

Coming into contact with the second Small Starryflower causes a capsule to appear in the room.
Small Starryflower #3
Climb down the ladder and head to the stone information desk at the end of the path. There is a button hidden behind the desk, and players should activate it to raise a nearby gate. Pass through the opening that was blocked by the gate and head a few paces forward to find the third Small Starryflower.
Hidden Starry #2
There is a stage just past the third Small Starryflower. Break the crystal in front of it to cause a hidden Starry to appear.
Small Starryflower #4
In the next area, consume the stairs, approach the metal boxes and crystal, and fall onto those objects to activate a walkway. Cross the walkway to reach a conveyor belt, stand next to the wall on the right, spit, and then use the stairs to reach a crystal. Strike that crystal to activate a second walkway and quickly consume the stairs before they fall off the edge of the conveyor belt.
Move onto the second walkway, and fall into the cracked wall. Enter the room that has just been revealed, and use the stairs to access the elevated platform and the fourth Small Starryflower.
Hidden Starry #3
Consume the stairs, and head to the right, spitting when you reach a pillar with a soda on top. Use the stairs to get on the pillar, and enter the arena behind it to fight Crystal Wild Edge. Defeat that foe to gain access to a small room with the third hidden Starry.
Capsule #2
Upon exiting the small room, players will find that the stairs are moving to the right on a conveyor belt. Consume the stairs before they fall off the right edge, and position them so that it is possible to reach the elevated sword-wielding enemy. Take that foe's Sword power, strike the nearby crystal, and use the stairs that have appeared to approach a chest that is tangled in a vine. Slice the vine and open the chest to earn a capsule.
Small Starryflower #5

The final Small Starryflower extends from the front of the stairs that were used to reach the chest with the second capsule. Hover to come into contact with it.
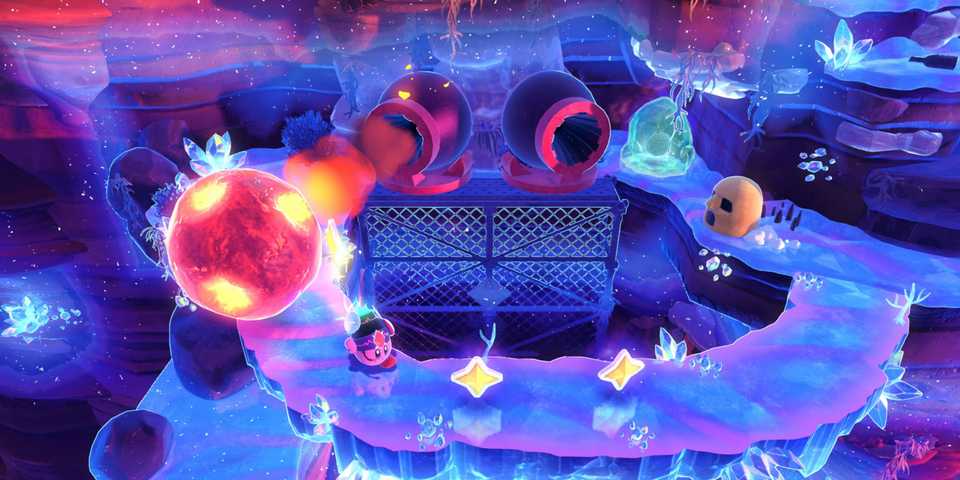
Get the Stairs to the Destination Without Letting Them Fall
Consume the stairs once again, move to the conveyor belt in the background, and fall on the metal boxes and crystal on the right to close a gap in the floor. Move onto the next conveyor belt and spit at the beginning, maximizing the distance that the stairs can travel before falling. Use the stairs to reach the elevated platform on the right and quickly hit the crystal on the left to close a second gap.

Allow the stairs to fall onto the platform that was created by striking the crystal and consume them once more. Now move to the cracked wall and fall into it to trigger the completion of this mission.
Hidden Starry #4

The final hidden Starry is in the chest revealed by breaking the cracked wall.
Clear the Stage

Players can now continue towards the background and come into contact with the crystal orb to complete this stage in Star-Crossed World.

- Released
- August 28, 2025
- ESRB
- E10+
- Base Game
- Kirby and the Forgotten Land
- Developer(s)
- HAL Laboratory
- Publisher(s)
- Nintendo Co., Ltd.
- Multiplayer
- Online Multiplayer