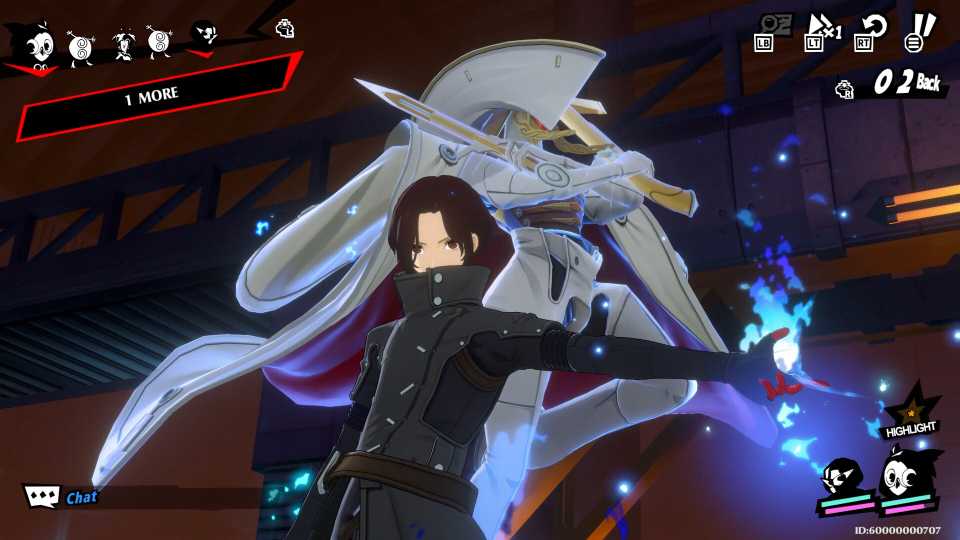
Museum of Truth and Vanity is the new Episode of Crossroads of Fate in P5X, which is a crossover event with Persona 5. This new Event episode brings back some beloved characters from the franchise, and of course, tons of rewards to pick by completing each of the Episodes.

Persona 5 The Phantom X: Crossroads of Fate (Kamoshida's Palace) Walkthrough
This crossover event introduces the cast of Persona 5 The Phantom X to the original Phantom Thieves, investigating a recreation of Kamoshida's Palace.
But to obtain all the rewards available, players need to figure out the location of every collectible in each of the challenges. This guide is a full walkthrough of Museum of Truth and Vanity, with exact directions to help players find all the collectibles and reach 100% completion in each episode.
P5X: Museum of Truth and Vanity Full Walkthrough
Museum of Truth and Vanity is the Second part of Crossroads of Fate, and has 10 Episodes. Starting with episode 2-1, players will delve into a new Palace, and meet some known faces from Joker's Phantom Thieves team. Players need to keep in mind that attaining 100% in each of these Episodes will reward them with Destiny Badges and Meta Jewels, so this guide will help them attain 100% completion in each of the episodes.
Now, follow the instructions in each of the episodes listed below to complete Museum of Truth and Vanity at 100%. Players are required to have a minimum of Level 60 on Wonder, and the other Phantom Thieves will be automatically adjusted to their level in order to proceed. But first, a few things to consider before diving into this Palace:
- Yusuke and Anne will be locked during most of the Episodes.
- Lufel will be one of the characters from Wonder's team that will be locked in the later stages.
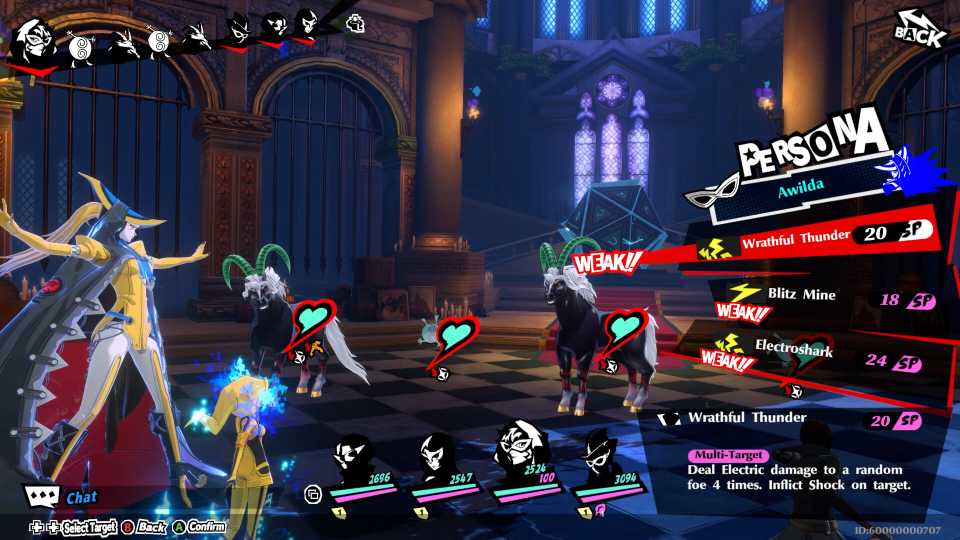
- The ideal partner for Yusuke is Kotone Montagne, since she can chain Ice attacks with him to cause brutal damage to enemies.
Episode 2-1 Reunion
Episode 2-1 is a big Parking Lot outside the museum. Players shouldn't go to the target yet, but linger around the building since there are a few chests to pick and a Powerful Shadow to defeat. It's pretty straightforward, just avoid opening the double doors before picking the Parking Lot clean. After doing that, proceed to open the doors and enter the Museum to witness a cutscene and meet a new Phantom Thief (Fox) accompanying Panther. Beat the boss to complete the Episode.
Episode 2-2 One More Core?
In Episode 2-2, players can access the receiving Hall of the Museum, and there will be a few items they need to pick up to reach 100% completion (3x Museum Brochure, 5x chests, and defeat a Powerful Shadow). First, turn around and go to the east wing, pull the level next to the reception desk, and take the left access to the East Wing. In this location, players can find a Museum Brochure, and defeat the P owerful Shadow, which is guarding a Treasure Chest. Don't forget to pick up the Treasure Key Chest from the green bench to open the Treasure Chest in the Central Circular Room. Back to the east wing (where players spawn), there's a Museum Brochure right where players spawn, and a Treasure Chest behind the laser fences.
Keep moving forward and use the Chroma Module Camera to make the Painting on the wall disappear, then proceed to the next room. Zigzag between the lasers, then head northwest to pull another lever and access a hallway with a shadow and a Treasure Chest. Then, go back to the main exhibition hall with the lasers, avoid the shadows or eliminate them, and pick up the Brochure from one of the corners. With that in hand, all the secondary objectives will be complete, and players can go ahead and proceed to the next and final part of this section. Players will have to defeat one last enemy before finishing the Episode.
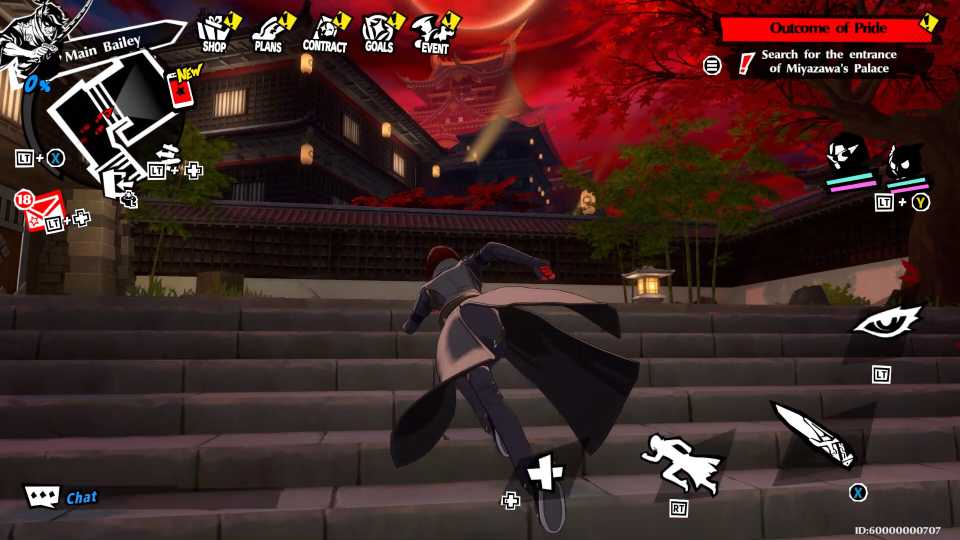
Check the minimap to look for treasure and Powerful Enemies. Don't miss a single spot to get all the rewards.
Episode 2-3 Determination To Resist
Episode 2-3 is a place packed with enemies, and also with lots of collectibles to pick. Start by turning around and picking the Museum Brochure, then return to the previous direction to keep moving forward. Deactivate the lasers by pushing the pad on the right side wall, move forward and wait for the cutscene to be over to push the button on the right side and proceed through the laser-blocked hallway. There's a Treasure Chest to the right, and another Museum Brochure safeguarded by a roaming Shadow. Turn around the blockade to pick another Treasure Chest, then do a 180º and press the switch to proceed forward.
Eliminate the Shadow blocking the way and proceed to the next switch. Pick up the Treasure Chest next to the switch, then press a second switch to move to the next zone following the marker. Now, instead of following the marked direction, turn to the steel gate and press the lever to open a path. Move through this new hallway and press the switch on the right side wall to deactivate the lasers, then defeat the Strong Shadow to claim the Treasure Chest. Go back to the main path, eliminate the Shadow boss on the way, and claim the third Museum Brochure. Instead of going up and opening the Golden Chest, look behind the stairs for another enemy and a hidden Treasure Chest next to a planter. With the fifth Treasure Collectible in their pockets, players can now claim the Golden Chest to finish this episode.

Persona 5 Phantom X Kiuchi Palace 100% Walkthrough
Want to complete Kiuchi Palace 100%? Check this guide that will facilitate the process of collecting all Chests, Shards, and finding all bosses.
Episode 2-4 Find The Password
Episode 2-4, the 2nd Exhibition Room is a bit more complex than the previous stage. Start by following the Marker and opening the control room, then move to the Ventilation Shaft. After dropping out of it, turn to the right and claim a Treasure Chest, then check the Crooked Painting to reveal a switch. Press it to lower the barriers on one side of the hexagonal room, then return to the place where the Chest was to jump on the ledge and cross to the other side of the laser barrier. Climb the boxes once more to cross to the other side, then drop below to beat a Powerful Shadow and claim the Security Key Card, and another Museum Brochure. Turn around and press the switch, then climb on the ledge to cross to the other side again.
Return to the control room, then interact with the computer to deactivate the sensors. Claim the chest in the middle, which was protected by the lasers, then proceed down the stairs. Jump through the gap to avoid the lasers, beat the Shadow, and check the women's restroom for another Treasure Chest and the men's restroom for another Museum Brochure. Now go down the stairs and move down the hallway, beat the Shadows patrolling there, and then move to the hall with the Electric Fences. Once more, look for a Crooked Painting, then hit the switch to deactivate the electric traps. Deal with the Ninja Shadow attacking, then proceed to grab the Chroma Film Module (similar to those from MIyazawa's Palace) and the Treasure Chest from the recently opened section. Move back to the previous room, climb the stairs, pick the last Museum Brochure, and activate the camera. First, turn the camera 180º to open a path into a secret room with a Chest and a Powerful Shadow, and the last remaining Treasure Chest behind it. With that complete, move back to activate the Camera once more, then point towards the Chest in the bottom ledge to reveal it. Jump down and pick the chest to finish the Episode.
Episode 2-5 A Calm, Yet Forceful Entry
Episode 2-5 starts with Lufel and Wonder discussing the layout of the new area (Central Garden). Start by moving forward and claiming a Museum Brochure from the stand. Players can break the vases to pick x600 Konpaku Gems from each of them. Claim a chest from the opposite side of the room (around the pool) then proceed to the main area where the Shadows patrol to claim two Treasure Chests (one at each side, guarded by a roaming Shadow) and another Museum Brochure. Proceed to the next section.
Wonder will enter a labyrinth-like structure (similar to a Penrose Stair Illusion) that fans of Persona 5 will recognize from other Palaces, and will need to climb to the top to move forward to find a small dais that leads to the last Museum Brochure in this Episode. In the second layer, t here's a chest guarded by a shadow, and with that, players can attain 100% completion. Proceed through the waypoint to watch a cutsence, then fight the boss and claim the chest to complete the Episode.
Episode 2-6 Proceed Even Deeper
Episode 2-6 is one hell of a maze, but the first floor is pretty straightforward. To the right side, there's a Treasure Chest, the first of six to pick. Turning in the opposite direction to where Wonder is aiming at the start, there's a small detour with a Museum Brochure, and a treasure room guarded by a Powerful Shadow. After beating it, press the switch and access the small room to claim two Treasure Chests, one of which is locked under key, which is in the same room on top of one of the keyboards. Now proceed back to the main hall, press the switch on the left side wall, and deactivate the laser. Climb the ramp, deal with the Shadow, then crawl through the duct to reach another zone.
Claim the Chest to the left, then press the switch, pick the second Museum Brochure from the opposite side, and break the statue for some Konpaku Gems. Now, direct Wonders' attention to the camera, and use it to make the wall painting disappear. Proceed through the ramp, eliminate another Shadow, and break another Konpaku Gem Statue. Beat the shadow after the cutscene to move forward, and claim the Chest tucked away in the corner. Press the switches to deactivate the laser fences, pick the last Museum Brochure, then enter the room to beat a Boss Shadow to make the Golden Chest appear. Grab the last blue Treasure Chest, then climb the stairs and move through the platforms to claim the chest and finish the episode.
Episode 2-7 Catch Me if you Can
Episode 2-7 starts with the crew appearing in the Treasure Hall Lounge, where Wonder can proceed forward and look around the screen panels to claim a Museum Brochure on the left side and 600 Konpaku Gems on the right side. Interact with the camera to make the painting disappear, then head left to the control room to beat a Powerful Shadow and claim a Gold Chest. Going back, the chest on the right side is locked, so players need to find the Key, which is located by climbing the ramp on the right side, over the square concrete block. Pick the key, open the chest, then move forward and turn to the left, slay a Shadow and claim a Brochure from the corner, and spot another locked chest. The key for this chest will be nearly at the end of the Episode, so ignore it for now. Mind the level of the enemies here; Wonder needs to be around 60 to beat them.
Continue moving forward to find a place locked under laser fences, then turn around to find a switch and press it. Players need to claim a Chroma Key Module from the middle of the fences, then use the camera with the module to make the painting disappear and find the other switch. Press it to unlock a new laser section. Now turn the camera 180º to find yet another painting and another switch to press. This will grant access to the Golden Chest in the middle of the room. Moving forward, press another switch to open a fence on the left side, which is a shortcut players can use to pick the locked chests left behind. Pick the Brochure next to it, then defeat the Shadow in the room, and look over the blue couch in front of the painting for the Key. Grab it, then return to the locked chest from the previous section. With that, players will have 100% completion and can claim the rewards after the mission is over. Now go back to the waypoint, press the Switch, and open the control room to pick the Golden Chest and finish the episode.
Episode 2-8 Beauty is Bizarre
Once players start Episode 2-8, they will see a cutscene of a fence opening. Now, turn 180º and pick the Museum Brochure from the corner, and break a sculpture for 600 Konpaku Gems. Return to the waypoint (claim another 600 Konpaku Gems breaking the vase) and climb the wall with the grappling hook to move forward. Break another vase, then get into the air duct. After the cutscene and the battle are over, look around for a breakable statue, and switch to deactivate the lasers. Open the door, pick the Brochure and the Vase on the left side, and eliminate the patrolling Shadow to claim a Blue Chest, and another 600 Konpaku gems from the sculpture in the corner. Return to the waypoint, deal with the Shadow Guard, then enter the next section.
To the right there is another breakable vase, then players can turn around to find a patrolling Shadow, beat it, and more forward. Another golden statue to break, then open the door, to find yet another 600 Konpaku gems by breaking the vase next to the wood planks. Climb on the planks to drop onto the scaffolding. Then drop below to face another patrolling enemy. In this room, there's another Chest, another Brochure, and a Powerful Shadow to beat, which is guarding the third and last Chest to attain 100% completion. With that out of the picture, climb back into the scaffolding, then jump into the paintings.
The first one has three camels on it; just follow right to pass through it. The second one has a Torii gate, players need to enter it by going to the right, then moving the direction key forward. Finally, into the jungle painting with the rock, move to the right corner, and jump out of the painting. Wonder will land on a lifter with another breakable vase, and a switch that players need to press. A new picture will appear in the puzzle, so players need to climb the rocks on the Jungle painting, move to the camel painting, and then to the Torii gate and move all the way to the right. Now, in the sea painting, jump from the middle section to a new Lifter, and press another switch. Jump to the scaffolding below, then back into the camel painting, and repeat the first route: Camels, then to the right corner, Torii gate, then in the jungle, climb the rocks, and move the arrow forward to enter the autumn forest painting, and finally all the way to the right. Jump out of the painting onto the scaffolding, then proceed forward to beat the boss and finish the episode.

Persona5: The Phantom X - Story Trailer
Atlus releases a new story based trailer for its upcoming mobile and PC title, Persona5: The Phantom X, which is launching on June 26.
Episode 2-9 Run Through!
Upon starting Episode 2.9, turn around and pick up the Key from one of the couches. There are 2 breakable objects around to claim more Konpaku Gems. Press the switch on the wall, then move down the ramp to claim a Brochure. Kill the patrolling Shadows, then claim another Brochure, and open the Chest with the Key. There's a switch next to the chest, press it, then look for a crooked painting in the opposite side to reveal another switch, press it to open a room that leads to a Powerful Shadow which is guarding a Chest. Pick the loot , then move to the other bathroom to claim 600 Konpaku gems. Now go through the doors to move to the next section.
Wonder will enter another Penrose Stair Labyrinth, and moving forward there are various detours. One has a Blue Chest, pick it and move back to the main road, then turn to the opposite side to make the perspective shift positions, and keep jumping around to get yet another Blue Chest. From this chest, move down the ramp to shift the perspective once more and meet a Powerful Shadow, beat it to claim another Museum Brochure and a Gold Chest. Now return following the marker, and keep jumping in the waypoint direction to claim a Purple Chest. After that, keep moving forward and enter the next section, follow the path to claim the last Brochure, and reach 100% completion. The next room has an episode Sub Boss which is pretty easy to beat. After the cutscene, claim two breakable objects to add more Konpaku Gems to Wonder's pockets, and the Chest to finish the episode.
Episode 2-10 Which is Real?
The final episode starts with a cutscene, which leads directly into a Boss Fight. The Boss, Dvesha, consists of four different targets (Paintings): Right Eye, Left Eye, Nose, Mouth. Players need to attack the Eyes first to prevent it from 'locking on' party members. After a while, Dvesha will use a powerful attack, so beat the Eyes first.
The next part of the fight consists of attacking the Nose, to force the boss to open the Mouth. Rotate between the targets, and keep an eye out for when the prompt 'Dvesha is looking to Yasuke' or any other party member appears. That will be the cue to hit the Eyes with Single Target moves to force the boss to drop the focus. Players will soon notice that the beaten parts keep coming back, so the idea is to beat everything fast so the boss cannot recover. Keep using powerful moves on singular parts, breaking the defenses, then going all out to wipe them out until it's beaten, and Episode 2-10 will be complete. Congratulations, players have finished the Persona 5: The Phantom X Museum of Truth and Vanity. Now to claim the rewards in the Gallery Auction.

Persona5: The Phantom X


- Released
- June 26, 2025