

Stolen Valor is one of the more intensely disturbing missions in Ready or Not, tasking players with finding a missing officer who is believed to have been stolen by a notorious gang of criminals. In it, players are expected to raid a three-floor apartment and take down over a dozen enemies while also collecting evidence.

Ready Or Not: Hunger Strike Mission Guide
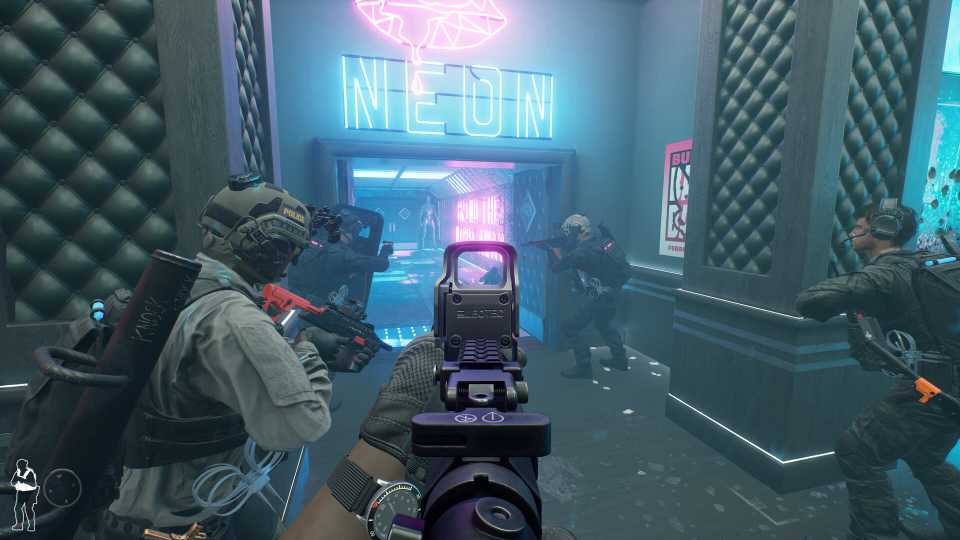
Hunger Strike is a Ready or Not mission full of close-quarter combat, where a shotgun will excel in killing suspects with a single shot.
The overall flow of Stolen Valor is somewhat similar to 23 Megabytes a Second, where the SWAT team should clear each floor of the building carefully before proceeding with the mission. However, each flat is quite dangerous, as the suspects have prepared many traps to prevent officers from rushing in.
All Stolen Valor Objective Locations In Ready Or Not
Objective 1

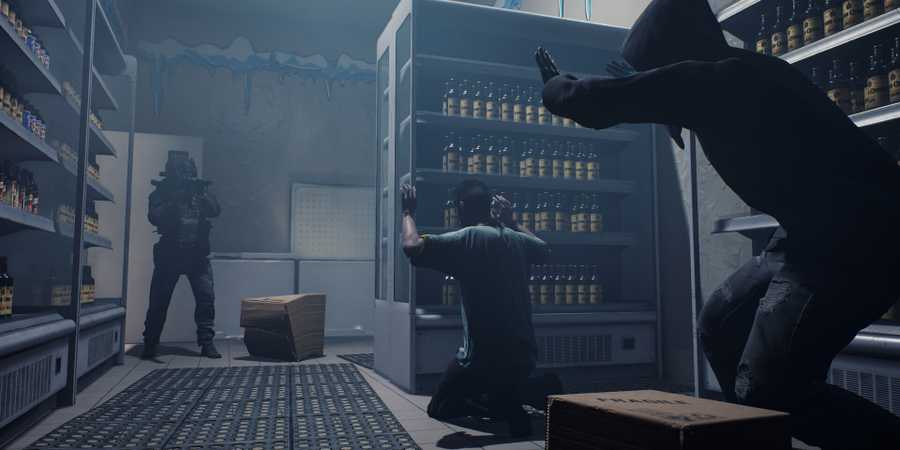
There are a total of 4 pieces of evidence to collect in Stolen Valor. It's best to start infiltrating the building from the bottom floor. As such, follow the ramp next to the building until you find the door to the bottom floor. This floor is where you will find the missing officer.
Exit the kitchen towards the square staircase in the middle of the building. Then, open the door at the foot of the stairs. Take a left here, open another door, and you will find a room filled with norcotics as well as the missing officer. Inspect the officer to collect the first piece of evidence.
Objective 2
Go back to the square staircase and head to the upper level. There are two flats to explore here, located on opposite sides of the staircase. The first door that you will come across when going up hosts a suitcase filled with guns. Just head inside the room, get past the kitchen, and you will find the suitcase on a table. This is the second piece of evidence you need.
Objective 3

The third objective is also a suitcase filled with guns. Head to the next flat on the same floor, and you will find another suitcase on the table. Keep in mind that this room could have a trap behind its door. There might also be enemies coming from the balcony.
Objective 4
To collect the last piece of evidence, return to the staircase again and head to the top floor. There is only one flat on this floor, so head inside and neutralize the suspects. Inside the living room, you will find a big shelf filled with heavy weapons. Simply inspect the shelf for the final piece of evidence.
Keep in mind that, similar to most other missions in Ready or Not, collecting the evidence is not enough to get an S-rank. Players should avoid killing any of the suspects and try to arrest them all alive. No casualties or friendly fire should happen, and all the suspects and civilians must be handcuffed.
Best Loadout For Stolen Valor In Ready Or Not
Stolen Valor is a mission with many mid-range fights. An SMG or an assault rifle would be the best choice for the mission, but a shotgun could be a little bit troublesome, especially knowing that enemies may sometimes shoot at you from tiny angles, like through the gaps between the railings of the staircase.
Lethal Loadout
- Primary: G36C (Assault Rifle)
- Sidearm: PC19 (Pistol)
- Equipment: Mirrorgun
- Armor: Heavy
- Throwables: Flashbang (3x)
- Facewear: Anti-Flash Goggles
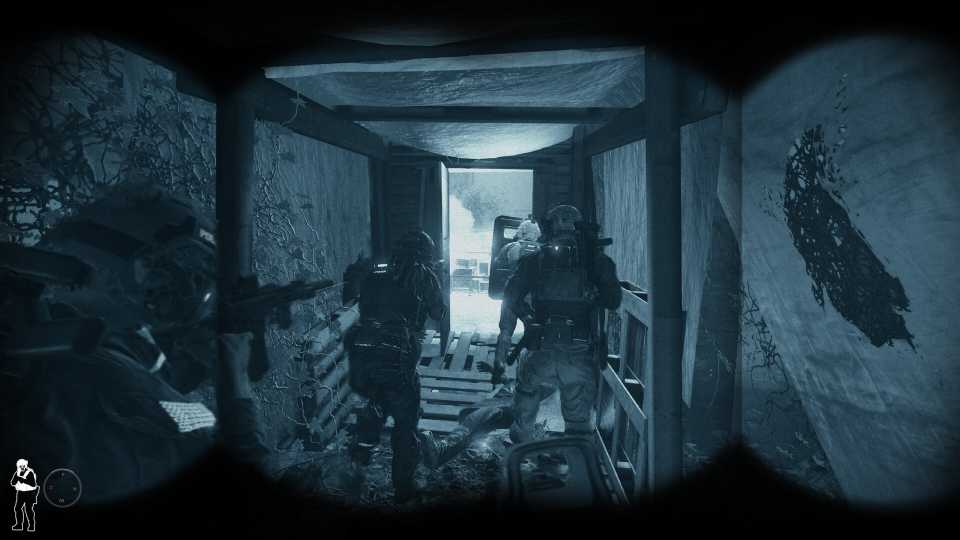
First of all, the mission takes place at night, which is why using NVGs is strongly recommended. If you don't feel comfortable with green vision, make sure to change the NVG to feature white vision.
The G36C is a great choice for mid-range combat. It might not be as powerful as some of the other assault rifles available, but its steady recoil and fast fire rate make it easier to use. The excessive use of traps by suspects in this mission also makes mirrorgun come in handy a lot.
Non-Lethal Loadout
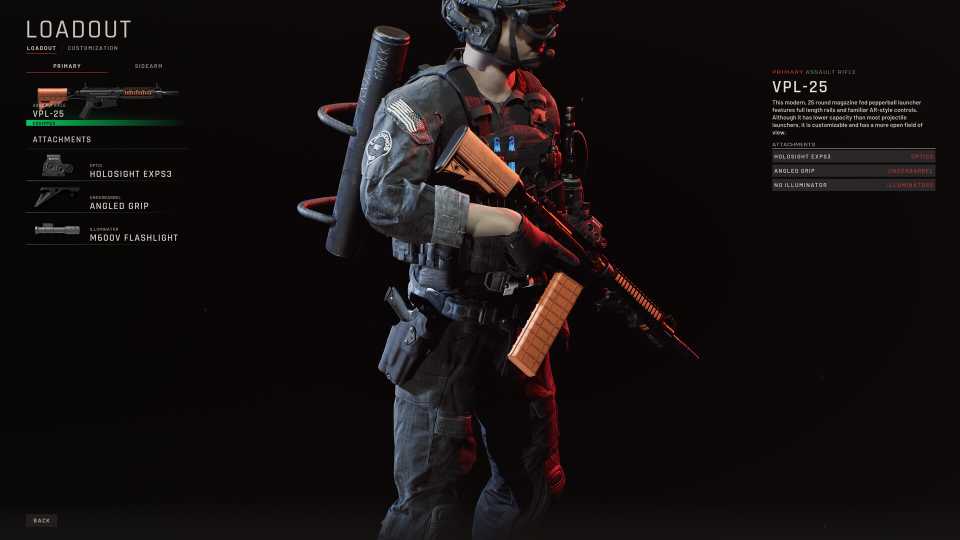
- Primary: VPL-25 (Assault Rifle)
- Sidearm: TRPL (Pistol)
- Equipment: Tactical Shield
- Armor: Heavy
- Throwables: Flashbang (3x)
- Facewear: Gas Mask
Completing Stolen Valor flawlessly with a non-lethal weapon is quite difficult, as there are over a dozen suspects on the map, including melee damage dealers. The VPL-25 is still a superb gun to prevent enemies from attacking, but you can run out of magazines pretty quickly if you don't manage your shots. Switching to single-fire mode is an effective way to avoid wasting bullets.
When it comes to the equipment, it really depends on the player. While using a mirrorgun or an M320 Flash can still help, Tactical Shield seems like the best choice here, as the gunfights are quite intense on this map. The Gas Mask is also only used to keep yourself immune to the pepper effect coming out of the VPL-25 bullets.

Ready or Not


-
 OpenCritic Reviews
- Top Critic Avg: 82 /100 Critics Rec: 82%
- Released
- December 13, 2023
- ESRB
- Mature 17+ / Blood and Gore, Drug Reference, Intense Violence, Sexual Themes, Strong Language, Users Interact
- Developer(s)
- Void Interactive
- Publisher(s)
- Void Interactive


WHERE TO PLAY


- Engine
- Unreal Engine 4
- Genre(s)
- Tactical, FPS