Summary
- Start with the OG Kush strain in the Sweat Shop; experiment with growing and mixing for optimal cash flow.
- Consider creating a Green Crack den for upscale cannabis production at Hoodlum II level for better profits.
- Grow a wider variety of cannabis strains at Hoodlum IV level; maximize space and equipment for larger client base.
Every drug lord needs to own a variety of real estate locations, but players in Schedule I have to start at Street Rat before moving up to Kingpin. One of the first properties the protagonist owns is a small, modest rental known as the Sweat Shop.
This bachelor apartment isn't listed in Ray's Realty, unlike the other homes or businesses in Hyland Point that the character can also use. The player finds it thanks to a tip from Uncle Nelson and rents it from Ms. Ming in Fat Dragon, the Chinese Restaurant downstairs. There are a number of ways it can come in handy as players grow their business.

Schedule 1: How to Play Online Multiplayer With Friends
The best way to play Schedule 1 is in the company of other players. Here's how to do so.
Each of the following layouts includes space for a packing center, but a possible variation would be to move these facilities to the nearby hotel room. The player can also continue to use this space for sleeping, storage, or easy access to dealer Benji who lives in Room 2.
5 The Kush Lair
A Street Rat Operation
- Go hard early with a grow dedicated to one reliable strain.
It won't take long to make the $800 required to rent the Sweat Shop. The player will have access to at least one strain at this point, maybe two. The first is OG Kush, a reliable, mid-range cannabis strain that almost everyone likes. It also combines well with early mixing ingredients like flu medicine and donuts.
Experiment with various strains as curiosity allows, but consider turning the Sweatshop into a mini-grow dedicated to one strain. It's an easier way to amass larger amounts of product faster, provided the player is willing to sacrifice some variety until they acquire a larger growing space. The apartment is an L-shape, so it's easy to divide one side into packing, storage, and living quarters with grow tents on the other side.
Employees
- Botanist: Hire a Botanist if this is strictly a grow room. Make sure they have ample storage and dry racks for the harvested product.
- Chemist: Not just for more advanced chemicals, but any mixing station. The Chemist is a better employee when the player expands into creating and selling more expensive cannabis strains and harvesting isn't required on as large of a scale.

Schedule 1: Mixing Mania Guide (How to Make a Strain Worth $60)
Here's a quick guide on how to make expensive product strains for Schedule 1's Mixing Mania task.
4 A Green Crack Den
High Rolling With Potent Cannabis
- A strong and expensive strain for mid to high-level mixing.
Green Crack is a potent strain that opens up when the player reaches Hoodlum II. The base price is $43, which is pretty good already, and it mixes well with a wide selection of ingredients available at the Gas-Mart to make even more mind-blowing strains. In this case, it might be better to leave out the mixer to cram a few more grow tents into the space.
This idea is similar to the pure OG Kush setup, but it's a more upscale operation that will cost more and also generate better cash flow. This is also a time in the game when the client list is growing and the phone is blowing up, which includes Uncle Nelson with some tips about investing in bigger properties and local businesses.
Employees
- Botanist: As the cannabis grows, this is the most important employee. A few extra dry racks for their harvesting are also helpful.
- Cleaner: The player may want to think about handling the production while an employee handles trash.

Schedule 1: Best Customers for All Dealers
Optimize your cash flow in Schedule 1 by assigning the right customers to all your dealers.
3 Mixed Cannabis Minigrow
Wider Variety For A Larger Client Base
- Cannabis for every taste and client, regardless of budget or neighborhood.
It's exciting when a player hits the level of Hoodlum IV and can access four types of cannabis strains, so why not try to grow them all? This becomes more fun and practical when the player has a much bigger space, but it makes sense to get started on a smaller scale and evolve from there.

All Schedule 1 Ranks and Unlocks
As players increase their reputation in Schedule 1, more equipment and locations will become available.
The space can easily fit two grow tents for each of these four varieties, but that can be pushed to three each, and players can vary the number if they want to favor some strains over others or respond to higher client demand. This setup is better with the packing station elsewhere so that there's more room for grow tents, dry racks, and other related equipment and gear.
Employees
- Botanist: The most crucial activities here require a Botanist, but remember they can only handle a limited number of plants and the player might have to pick up some slack.
- Chemist: Mixing is a major thing with this grow, so there should be room for a mixer and perhaps a Chemist to run it. This is a flexible choice that depends on how much the player wants to mix and how much they want to grow.
2 Starter Meth Lab Setup
Perfect Size, One Employee
- A harder drug that requires little space compared to grow tents.
Once the player reaches the Peddler, it's too small to fit the grow tents required to meet demand, and that often means moving the plants to the Bungalow or Warehouse. This frees up the Sweatshop for other endeavors while keeping the bed and storage, and the location is the perfect size for a modest meth lab.
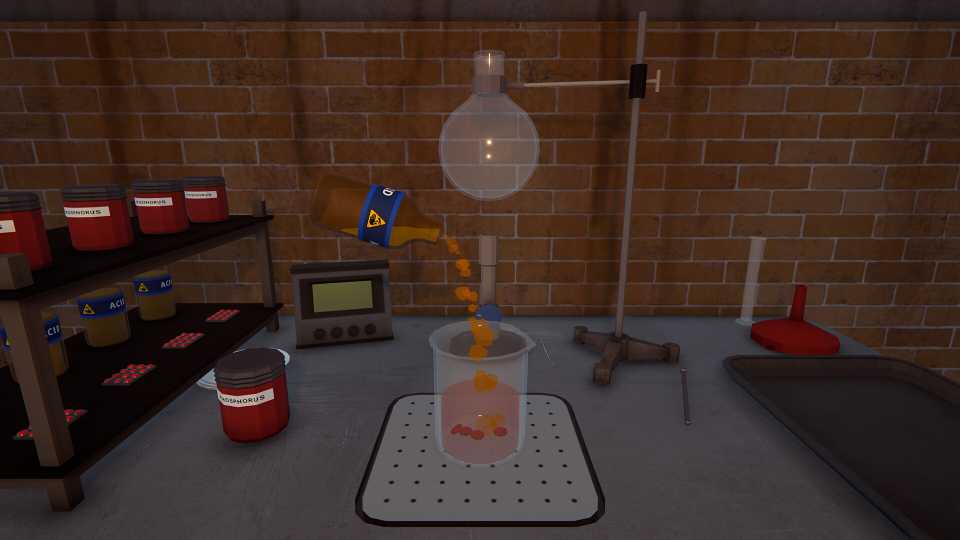
All the player needs to cook meth is a Chemistry Station and Lab Oven, unlike growing cannabis, which requires substantial room for plants. This gives the Sweatshop more breathing room for storage and packing, making this a self-contained operation with little trash to clean up.

Schedule 1: The Best Mixing Ingredients, Ranked
For players looking to experiment with ingredients in Schedule 1, these are some of the best items to try.
Employees
- Chemist: The most important job in this setup is the Chemist, who produces the meth using both the Chemistry Station and Lab Oven.
- Handler: Should the player decide to be responsible for cooking, they should at least hire a Handler to prepare the product for sale.
1 Cooking With Cocaine
Compact Space For Plants And Gear
- Small but efficient for a strong, expensive product.
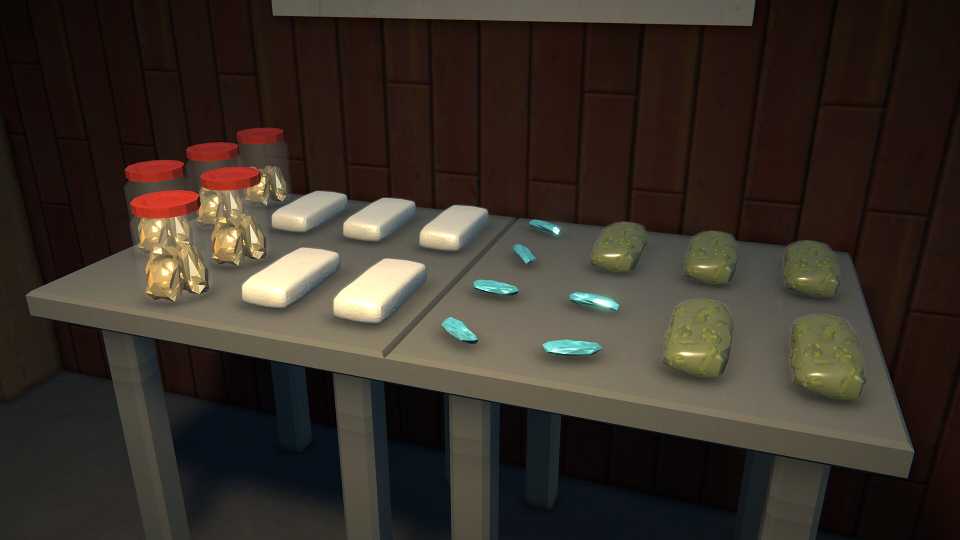
Cocaine is the strongest, most addictive, and most expensive of the products available in Schedule 1, which is why it's the last to unlock. It requires both space for plants and a cooking station, so it combines the requirements of cannabis and meth and needs space for both. Plants need time to dry for better quality, which makes this more time-consuming than cannabis and easier to manage when contained in its own space.
The Sweatshop is more or less the perfect size for this, and there's space for mixing and packing in this setup as well, making this another self-contained design. Cocaine is like cannabis in the sense that it mixes well with a variety of ingredients that can be used to make even more potent strains, for which desperate customers are willing to pay top dollar.
Employees
- Chemist: The main activity in this setup is the mixing process, which includes combining ingredients such as coca leaves and gasoline. Cocaine also has to be cooked and dried like meth before it can be packaged.
- Botanist: It's easy to fit six plants in this room along with an oven and mixing station, so don't be afraid to try and cram in at least eight. Should the player decide more plants are preferable, it's more important to employ a Botanist instead of a Chemist.
- Developer(s)
- TVGS
- Publisher(s)
- TVGS
- Engine
- Unity
- Multiplayer
- Online Co-Op
- Number of Players
- Single-player






- Genre(s)
- Simulation, Crime, Action, Management, Strategy


